Replacing Golf Shoe Spikes: Detailed Guide
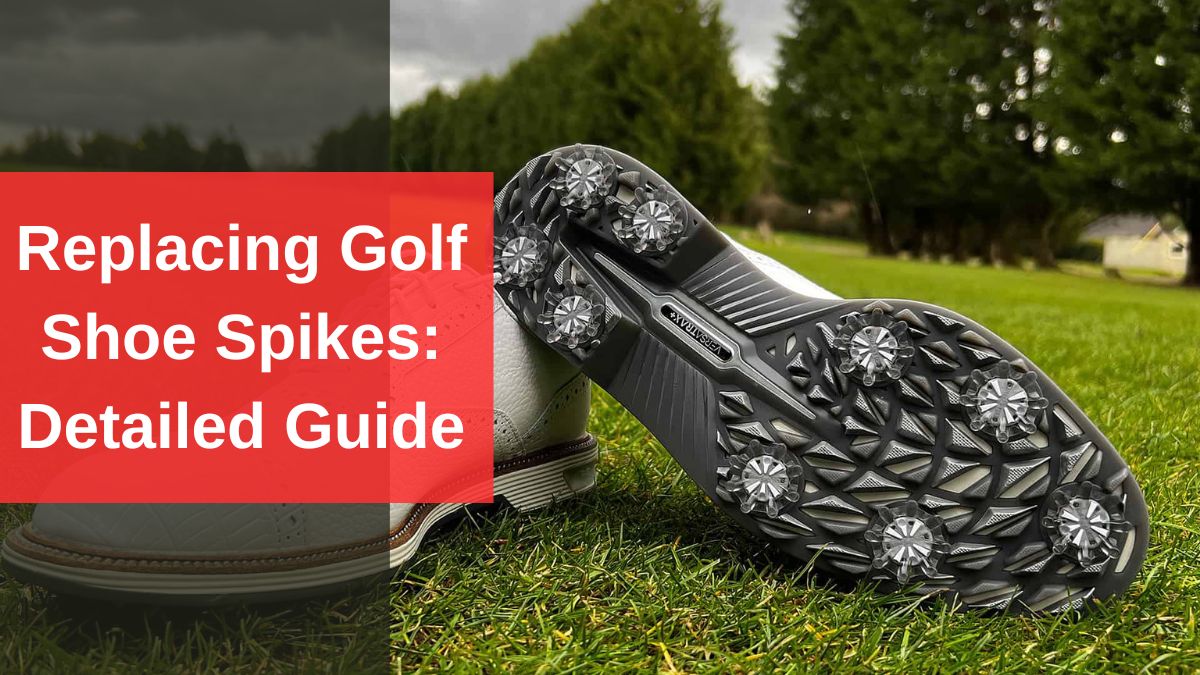
Does it ever happen to you that you are playing golf with your friends and suddenly slip in your golf swing without any reason? Chances are you need to replace golf shoe spikes that are torn and pulled out over time.
In our daily routine, we are not analyzing our golf shoe spikes daily and it can only be felt when you are losing grip on the golf course. This can lead us to either severe injury or missing the perfect swing.
Replacing golf shoe spikes is crucial to maximize your stability and maintain the proper balance during the game. In this blog post, I have mentioned how to replace golf shoes spikes and save your money on purchasing a new pair of golf shoes.
How To Determine If You Need New Golf Shoe Spikes?
Imagine you are driving a car, and you keep it properly maintained. After a certain period of time, you feel the difference between the performance and mileage of your car which leads you to another thing – (Changing filter & oil for better performance).
The same scenario is with your spiked golf shoes. If you are a regular golf player, then replacing golf shoe spikes after 20 rounds is recommended. There are various signs you can consider to know whether it’s time to change your golf shoe spikes or not. Some of them are mentioned below:
- Your shoe spikes are flatten
- They are torn and damaged
- One your spike is missing
- You’ve used your golf shoes for a long period of time
You May Also Like Reading: How Long Do Golf Shoes Last?
Tools You Need To Replace Golf Shoe Spikes By Yourself
You don’t need to be an expert for replacing golf shoe spikes, but there are certain tool kits such as a wrench or a bag of plastic cleats you will require to replace them. For instance, use the wrench to remove the old stud and replace them with the new one.
Make sure you don’t damage your golf shoe outsole while removing the shoe spikes. Although, if you’re not willing to buy a wrench, find something that is already available at your home. A needle-nose plier or a screwdriver is a perfect alternative to give the same kind of rotation counterclockwise to loosen and tighten the studs.
Also Read: How To Clean Golf Shoes: Step-By-Step Guide
4 Steps You Need To Know For Replacing Golf Shoe Spikes
Replacing golf shoe spikes becomes easier when you have a detailed guide on how to do it. Below, I have explained simple steps that you can follow to remove and replace golf shoe spikes:
Step 01 (Clean Your Shoes): Removing and replacing golf shoe spikes becomes a bit challenging when it’s completely covered in mud and dirt. So, what I would recommend you to do is to give your golf shoes a detailed cleaning by using soap or hot water. Make sure you don’t use any detergent that damages your golf shoe sole, especially if it’s made of leather.
Step 02 (Use Wrench To Remove Spikes): Once you have cleaned the dirt, use a wrench, or a screwdriver to rotate it anti-clockwise for removing the studs. Also check and clean if there is any dirt in the holes before putting up the new studs.
Step 03 (Install Your New Spikes): There are a variety of shoe spike stores where you can buy golf shoe studs. Once you have a pair of your like, put it in the place, press it in and rotate it in clockwise direction until it tightens up.
Step 04 (Repeat The Method For All): It’s a fool-proof method that you can use to remove and replace every spike from the golf shoes efficiently.
You May Also Like: Best Golf Shoes: Spiked Vs Spikeless
How To Improve The Lifespan Of Your Golf Shoe Spikes?
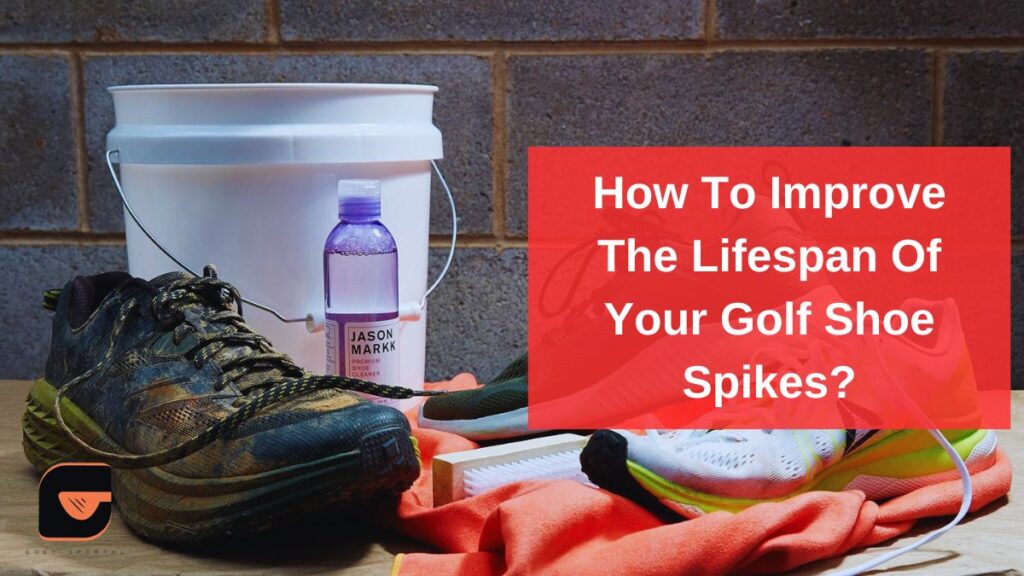
Replacing golf shoe spikes is one way of saving your money on buying new golf shoes. But, improving the lifespan by following simple tips will help you use the same studs for a longer time. Here are two tips you can use to maintain your golf shoe spikes:
1 – Avoid Using Your Golf Shoes On Concrete
Golf shoes are designed specifically to be worn on grass, and the purpose of their studs is to improve the balance and traction on the grass field. Reduce your time on concrete roads while wearing spiked golf shoes. Doing so will prevent the damages over time.
Now in case your car is parked away from the golf course, and you have to walk there, I recommend using a golf cart instead of walking.
2 – Keep Your Shoes Clean
This may sound obvious, but keeping your golf shoes clean is important. Once you’re done playing golf on the field, make sure you have cleaned your golf shoes and removed dirt using hot water or any other means of cleaning. Cleaning debris and dirt from your shoe spikes will prevent rust if your shoes have steel studs.
Also Read: How To Waterproof Golf Shoes?
Conclusion
Replacing golf shoe spikes is crucial for maintaining balance and ensuring traction on the field. Now that you know how you can replace golf shoe spikes, make sure you clean your golf boots regularly and avoid wearing them on concrete roads.
Try to reduce the distance between your golf course and parking space as much as you can so that you don’t have to walk on concrete roads that damage your golf shoes. In addition, I would recommend to have an extra pair of golf shoes

I’m Khawar Iqbal, Founder of Golfsportal. I’m excited to be your guide in the world of Golf. At Golfsportal, I will keep you updated with insightful information that will help you improve your golfing experience and knowledge about what’s currently happening in the industry.