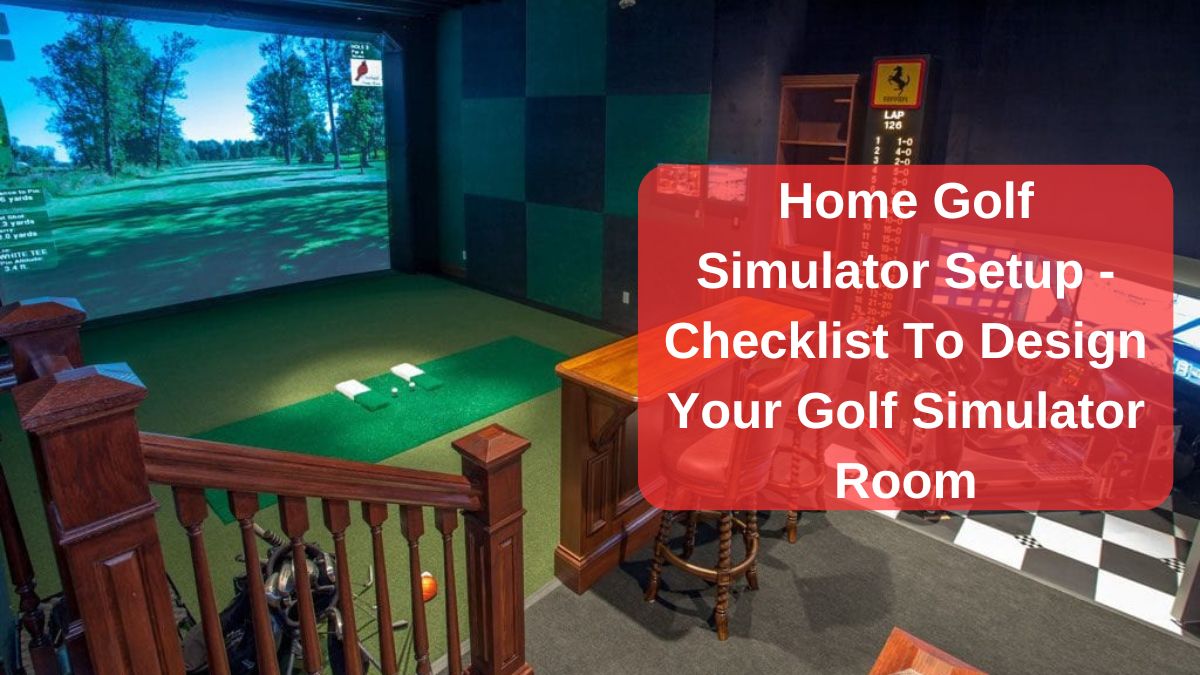
Home Golf Simulator Design Ideas – Checklist To Design Your Golf Simulator Room
So, you’ve decided to bring the golf course into your home. Brilliant! But there’s more to it than just buying the equipment.
We’re going to break down everything you need to know about designing your golf simulator room. We’ll give you a checklist, explain the must-have features, and sprinkle in some advice from our build.
Trust me, I’ve been there, done that, and learned a thing or two about making a golf simulator setup that’s practical, immersive, and yes – fun.
Why Do You Need To Think About Golf Simulator Room Ideas?
Designing a dedicated space for your golf simulator enhances your experience, offering more than just functionality; it creates an immersive, luxurious feel. A well-thought-out room design can optimize performance, provide comfort, and allow you to practice like a pro at home.
Whether you’re aiming for a casual, industrial aesthetic or a sleek, tech-driven environment, every detail matters. A great setup doesn’t just support your game; it brings the atmosphere of a professional golf club right to your home.
Top 5 Golf Simulator Room Design Ideas
Designing a golf simulator room isn’t just about functionality. It’s about creating a space where you feel comfortable practicing and spending time. Here are five ideas we loved and tried out ourselves. Each one adds its own vibe and features that make it unique.
1. Garage Vibe with a Sports Bar Touch
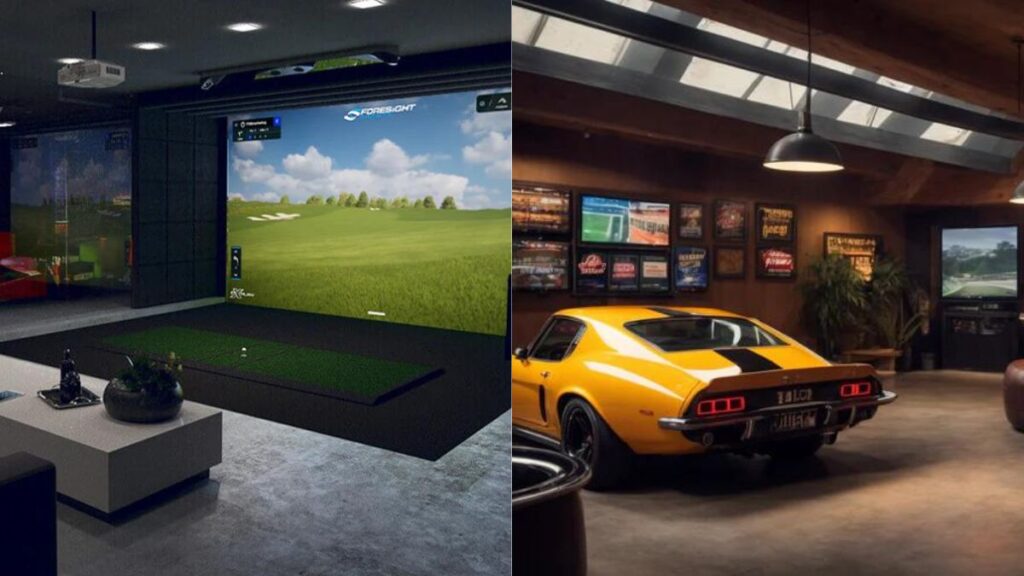
We’ve seen how amazing a garage can be transformed with an industrial feel. If you enjoy the urban, industrial vibe, this setup is perfect. The exposed brick walls and metal accents instantly give the room an edgy look.
Steps to Create:
- Clean out the garage to make room for your simulator and bar setup.
- Add industrial elements like exposed brick wallpaper or painted concrete walls.
- Install metal accents with shelves, bar stools, or even metal frames around your simulator.
- Set up a small bar—we added a countertop with stools, which became a hit with friends after a game.
- Finish with décor like black-and-white city photos or vintage sports memorabilia to complete the vibe.
2. The Ultimate Family Entertainment Basement
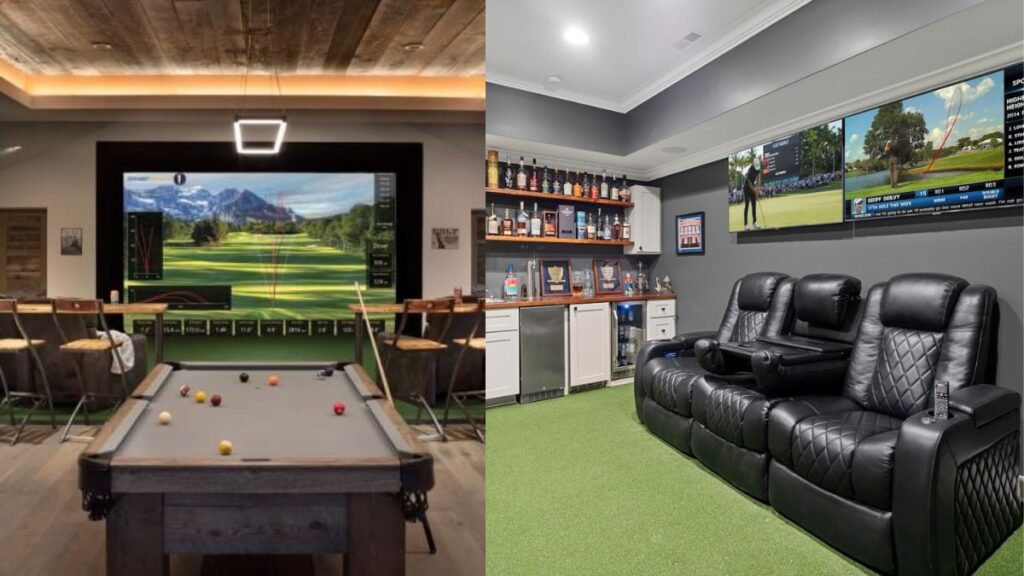
If you want a space that mixes productivity with play, this setup is ideal. We tried this in our home office, and it works wonders. The design focused on sleek, minimal lines, making the transition from work to practice seamless.
Steps to Create:
- Keep the design simple—stick to clean lines and minimal décor to avoid distractions.
- Set up high-tech gear like a launch monitor, projector, and screen without clutter.
- Create a balance by blending your desk and golf simulator setup, ensuring the space remains functional for both work and play.
3. Home Office Golf Simulator
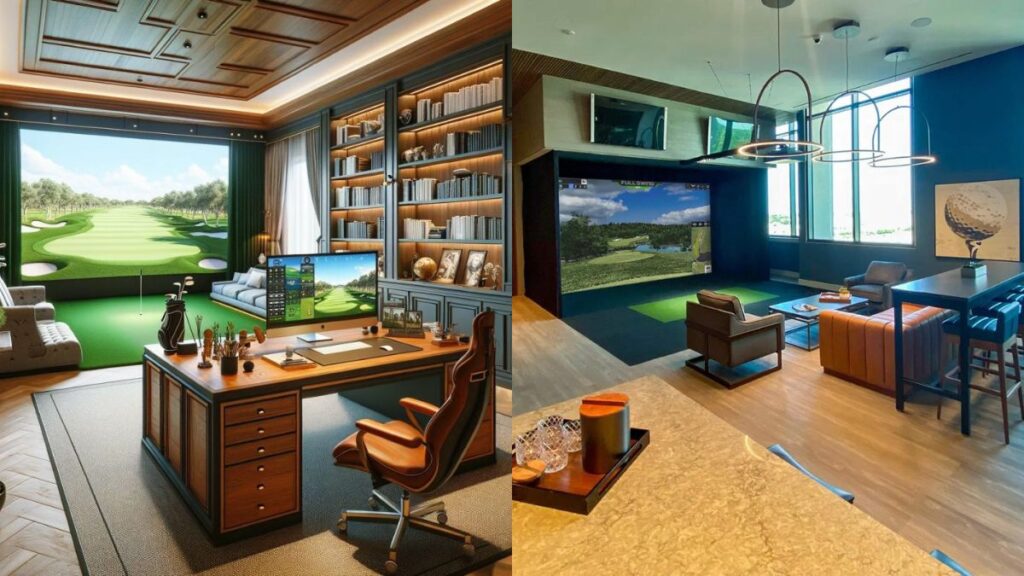
For those who love a hands-on project, building a custom simulator setup in a detached garage offers complete creative control. We built one from scratch and customized every aspect, from flooring to lighting.
Steps to Create:
- Build your enclosure with materials like plywood or PVC pipe for a budget-friendly option.
- Customize the flooring with impact-absorbing mats or turf for durability.
- Add soundproofing by installing acoustic panels or sound-dampening curtains.
- Install creative lighting to give the space a personalized touch, whether you want a relaxed vibe or bright practice conditions.
4. Compact Luxury Setup in Extra Indoor Space
You don’t need a huge room to create a high-end golf simulator setup. We experimented with turning a small indoor space—like a spare bedroom corner—into a cozy yet luxurious simulator area. Plush seating, soundproofing, and mood lighting made a world of difference.
The trick is to keep it sleek. We opted for multifunctional equipment and smart design elements to avoid clutter. Even in a smaller space, the premium feel remained intact, and it became a place we loved to relax in after long practice sessions.
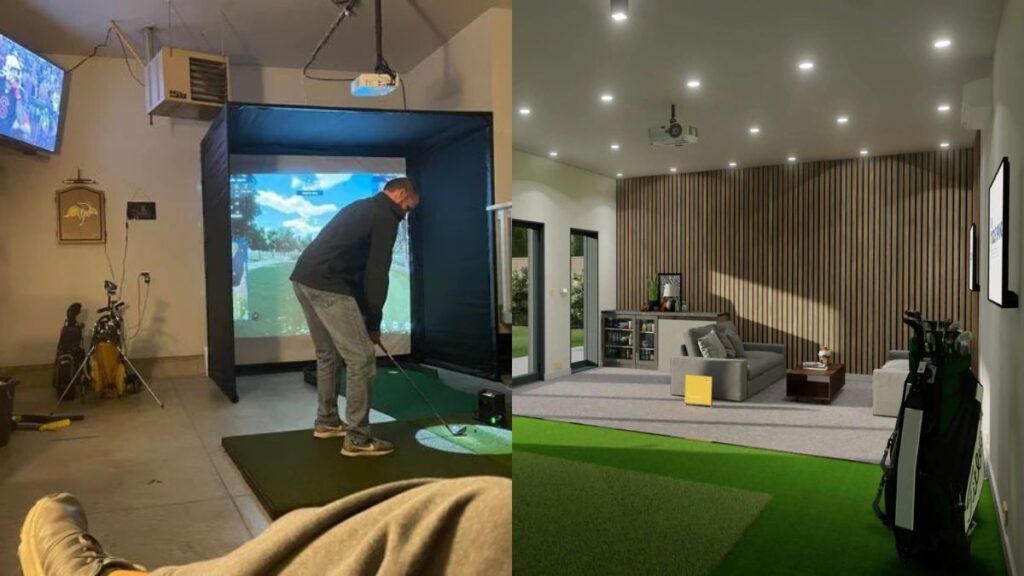
5. DIY Custom-Built Golf Simulator in a Detached Garage
If you’re someone who enjoys having complete control over your setup, a DIY custom-built golf simulator in a detached garage could be the perfect project. We built our own from scratch, customizing everything from the enclosure to the lighting. It was a rewarding experience, and the best part was having the flexibility to do things our way.
We added creative soundproofing techniques and chose the flooring ourselves, which made the space not only budget-friendly but also exactly how we envisioned it. This option is great if you’re on a budget but still want a fully personalized setup that feels like your own creation.
Home Golf Simulator Setup: Beginner’s Guide
1. Room Size and Ceiling Height – The Foundation of Your Setup
First things first, you need enough space to swing that driver without knocking out a light fixture. We’ve seen everything from garage builds to dedicated rooms in basements.
- Garage: Offers ample space, often with higher ceilings, and allows for industrial designs.
- Basement: A versatile space with room for entertainment, ideal for creating a multi-use area.
- Office Room: Great for compact setups and combining work with play.
- Separate Home Space: Allows full customization for an exclusive, luxurious feel.
- Extra Indoor Space: Perfect for converting unused areas into functional golfing zones.
While the ideal dimensions vary depending on the simulator, here’s a general guide:
- Room Width: 12 feet minimum, but more is better. A little extra space lets you adjust for both right-handed and left-handed players without rearranging the whole room.
- Room Depth: 18 to 20 feet will give you room for the screen, projector, and some swing space. You don’t want to feel cramped—trust us, nothing ruins a golf simulator experience faster than feeling like you’ll smack the wall on your backswing.
- Ceiling Height: 9 feet is the absolute minimum. If you’re over six feet tall or like using your driver, aim for 10 feet or higher. We love the freedom to take full swings, and a bit of extra height adds to the immersive feel.
Pro Tip: Measure twice. We’ve seen people (okay, us) get too excited, only to realize they had to lower their swings or constantly dodge lights.
2. The Hitting Mat – Your Swing’s Best Friend
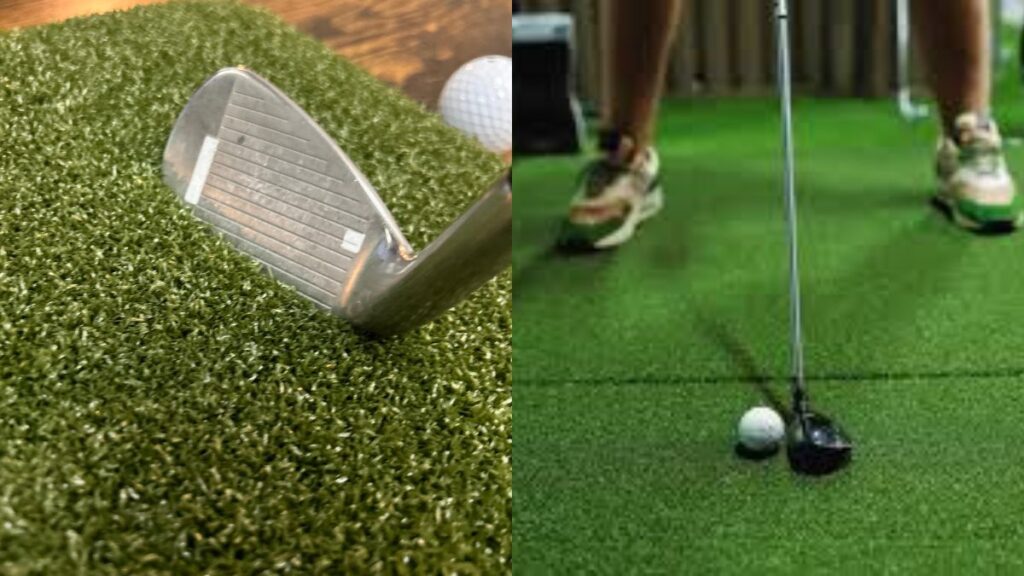
Not all hitting mats are created equal. We’ve tried a few over the years, and the right one makes a world of difference. You’ll want a mat that mimics the real feel of a fairway. It should punish bad shots but not wreck your wrists.
We use the SwingTurf 4’x9′ mat from Rain or Shine Golf. Why? It gives you just enough resistance to know when you hit fat, but it’s forgiving enough to keep you swinging for hours. Plus, it fits perfectly into our setup, recessed ¾ inches into the platform so it’s flush with the surrounding turf.
A quality mat like this not only improves your experience but also prevents injury. You won’t find yourself nursing sore joints after a long practice session.
You May Also Like Reading: Golf Simulator Hitting Mat Guide
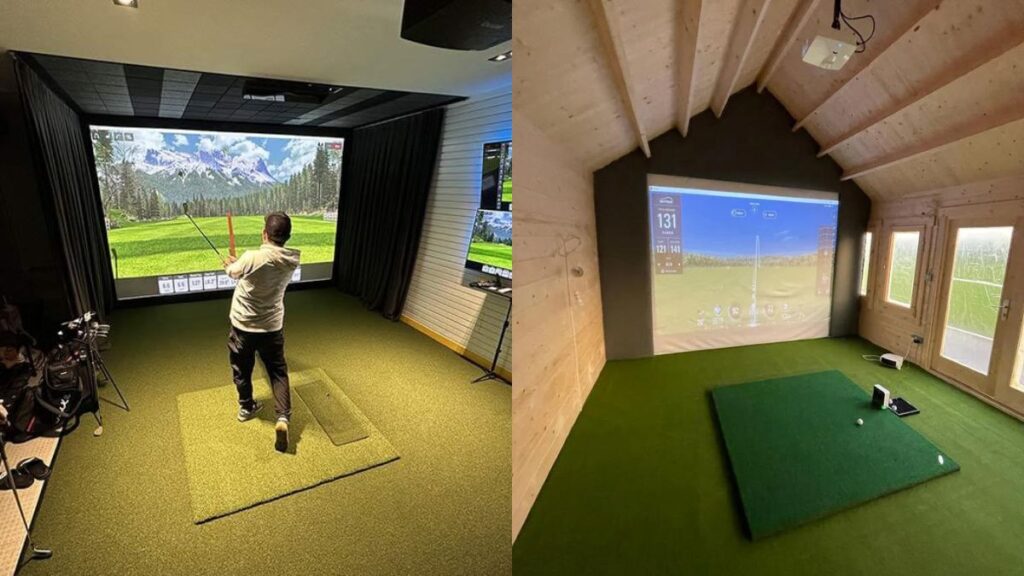
3. Impact Screen – You Need It Strong
You don’t want a ball tearing through your screen (or worse, rebounding straight at your face). We’ve tested a few options, and trust us, the screen needs to be durable.
We recommend going with a custom impact screen. For our build, we chose a 4:3 aspect ratio premium screen from Carl’s Place. Why 4:3? It maximizes the height of the room and ensures a full-sized projector image, making it feel like you’re standing on the course.
A custom screen ensures that your image quality is pristine, and there’s minimal bounce-back from shots. Pair it with acoustic foam (we’ll get to that), and you’ve got a setup that won’t shake the house with every drive.
The strength of your impact screen directly impacts your confidence when you swing. You want to know that it will hold up to your best shots, not leave you fearing every drive.
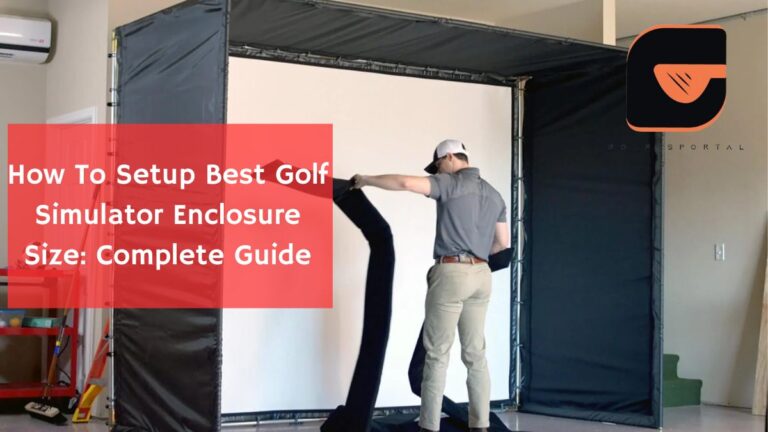
You May Also Like: How To Setup Golf Simulator Enclosure Size
4. Soundproofing – Save Your Ears (and Your Family’s)
A good impact screen can make some noise, and hitting drives in an enclosed space can echo like crazy. Without soundproofing, it’ll sound like you’re teeing off in a steel drum.
We use 1″x12x12″ acoustic foam panels behind the impact screen and around the room. It deadens the sound and helps prevent the ball from rebounding in unwanted directions. At around $400, it’s an investment, but one that’s worth it.
Soundproofing makes your simulator experience more enjoyable and won’t drive your family or neighbors nuts. Plus, it gives the room a professional finish.
6. Lighting – You Want It Right, Not Bright
Let’s talk about lighting. Your golf simulator needs to be well-lit but not too bright. You want to avoid shadows on the screen that could mess with your experience.
We installed matte black track lights directed at the hitting area. Why matte black? It absorbs excess light, making sure the screen is vibrant without any unnecessary glare or reflections. Plus, we painted everything from the hitting area forward in matte black for that same reason. Yes, it’s a little extra effort, but the result is worth it.
Proper lighting ensures that you get a clear, shadow-free image on the screen while still seeing your clubhead and swing path perfectly.
The right lighting feels like walking onto the course at dusk—calm, balanced, and totally focused. It’s the perfect vibe for zoning in on your shot.
6. Launch Monitor – Choose Wisely
The heart of your golf simulator is the launch monitor. This is what captures all your swing data and projects it onto the screen. There are two types: overhead and floor-based.
For dual-handed play, we recommend an overhead launch monitor like the Uneekor Eye XO. Why? It works well for both right and left-handed golfers, and you don’t need to move it when switching between players.
Overhead monitors are completely out of the way, so there’s no chance of kicking or bumping them during play. Plus, the Uneekor provides incredibly accurate data and works seamlessly with various simulator software like TGC 2019.
We loved how the overhead monitor removed any physical obstacles from our playing area. No bending down to readjust, no worrying about where your feet land—just smooth, uninterrupted swings.
You May Also Like Golf Simulator Vs. Golf Launch Monitor
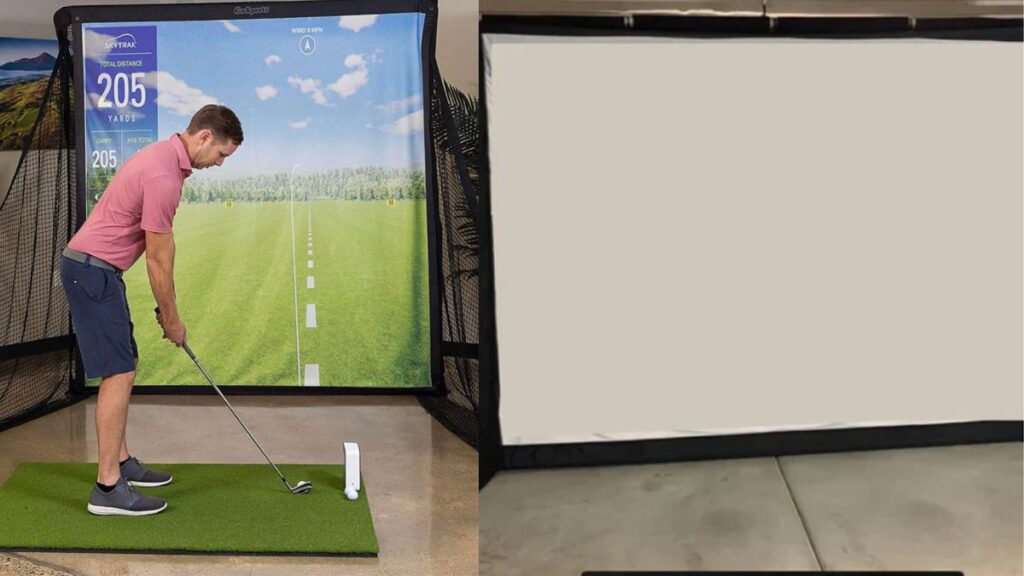
7. Projector and Screen Setup – The Heart of Immersion
The right projector can make or break your setup. You’ll want something that projects in at least 1080p, but if you can, go 4K.
We installed the Epson eh-tw6250 projector. It projects a sharp 4:3 image at 3.4 meters and avoids creating shadows. Our screen is mounted 1 foot away from the wall for safety, with a secure frame and grommets to ensure a tight fit.
A high-quality projector delivers lifelike images, making you feel like you’re standing on the actual course. Plus, by choosing a 4:3 ratio, you can maximize the size of the screen in most rooms.
You May Also Like Reading: Golf Simulator Projector Setup
7. Flooring and Turf – Create the Right Environment
Don’t forget about the flooring! It’s not just about aesthetics, though a good-looking setup helps. The right flooring helps protect your joints and provides a stable surface for your swings.
We laid down foam gym tiles and topped them off with putting turf from High-Tech Turf. It’s soft enough to walk on but sturdy enough to handle years of use. We love how the contrasting artificial turf from the old setup gave it a polished look.
Comfortable flooring prevents fatigue during long sessions and adds a professional look to your setup. Plus, having a built-in putting green means you can practice your short game anytime.
The balance between firm and soft flooring adds a touch of luxury. You can practice for hours without worrying about sore feet or joint pain.
10. Computer and Software – Get Tech-Savvy
Your launch monitor is only as good as the computer running it. You don’t need a supercomputer, but a decent setup will go a long way.
We recommend at least 16GB of RAM, a solid-state drive, and a graphics card like the RTX3080 for 4K output. Our PC is 15 meters away from the setup, but we ran a 30-meter HDMI cable and Cat6 data cables to keep everything connected.
A well-powered PC ensures that your simulator runs smoothly, without lag or stutter. Plus, with a good setup, you can add extras like swing analysis cameras or video playback.
Don’t skimp on your PC setup. A powerful computer enhances your experience, ensuring the simulator software runs without hiccups. It’s the difference between smooth gameplay and frustrating freezes.
11. Practice Area and Extras – Make it Yours
This is your space, so customize it to your needs!
We added a practice putting area with two 6-inch deep putting cups. This gives us the chance to work on our short game between rounds. If you’ve got the room, we highly recommend adding this feature—it’s one of those little things you’ll appreciate after hours of hitting drives.
Adding extra practice elements, like putting green, makes your simulator even more versatile. You get more practice options and can focus on different aspects of your game without ever leaving your house.
Extras give your simulator room that personal touch, making it feel like a sanctuary for practice. And let’s be honest, putting green inside is just cool.
Enhancing Appearance with Antiques, Furniture, and Decorations
Your simulator room doesn’t have to be all about tech. We’ve added some personal touches to make it more inviting.
- Vintage Golf Décor: A few old golf clubs or trophies add a nostalgic, club-like vibe. We placed ours on shelves to showcase our passion for the sport.
- Comfortable Seating: We use bar stools or comfy chairs to give guests a place to relax while waiting for their turn. It creates a welcoming atmosphere and makes the room feel more complete.
- Greenery and Paintings: To soften up the industrial look, we added a few plants and some artwork. It’s amazing how a little greenery and art can make the room feel warmer and more inviting.
Other Key Considerations for Your Setup – Cherry On The Top
Temperature & Ventilation: Proper air circulation is key, especially in basements or garages. Installing a mini-split unit kept the temperature perfect year-round, letting us play comfortably without worrying about heat or cold.
Cable Management: Keeping tech setups neat is crucial. Using concealed conduits or channels makes the room look sleek and reduces distractions during practice.
Quality Sound System: We also added a surround sound system, which really boosted the immersion, making practice sessions feel more realistic and engaging.
Color Palette: We chose calming, neutral tones to keep the room relaxing and visually distraction-free. Motivational artwork added a nice personal touch.
Mini Bar Setup: Adding a mini bar made the space multifunctional. You can position it away from the screen and use nets to protect against stray shots, making the room fun for both practice and socializing.
Club & Gear Racks: Wall-mounted racks kept the space organized and clutter-free, giving the room a professional look with easy access to equipment.
Our Recommendations & Suggestions
Start with Essentials, Then Upgrade Gradually
We started with the basics—hitting mat, launch monitor, and screen—and gradually added more features like soundproofing and lighting as our budget allowed. This approach kept things affordable while still allowing us to improve the space over time.
Why Did This Work for Us?
- Starting with the essentials gives you a solid foundation.
- Gradual upgrades make the setup feel less overwhelming.
DIY Can Be Rewarding (But Plan Carefully)
Building our DIY setup in a detached garage is incredibly satisfying. However, careful planning and budgeting are essential. We started by focusing on the structural framework, then added aesthetic and functional details once we had a solid foundation.
Having a clear plan from the start ensures a smooth setup process. By focusing on the structure first—such as the framework, dimensions, and layout—you lay the foundation for easier upgrades down the line.
Consider a Dual-Purpose Room
We turned one of our entertainment rooms into a dual-purpose space by incorporating a golf simulator alongside other family-friendly activities. This maximized the use of the room and made it more enjoyable for everyone.
With a setup like this, the room isn’t limited to golfers. The whole family can use it for activities like watching movies, playing games, or simply relaxing, making it a valuable addition to your home for everyone to enjoy.
Test Equipment Before Permanent Installation
Before securing the projector and monitors in place, we tested different angles and distances. This ensured that we got the best image quality and optimal angles before committing to any permanent installations.
Testing your setup beforehand allows you to fine-tune the placement of equipment for optimal results. This simple step helps you avoid the frustration of having to redo installations later.
You May Also Like Reading:
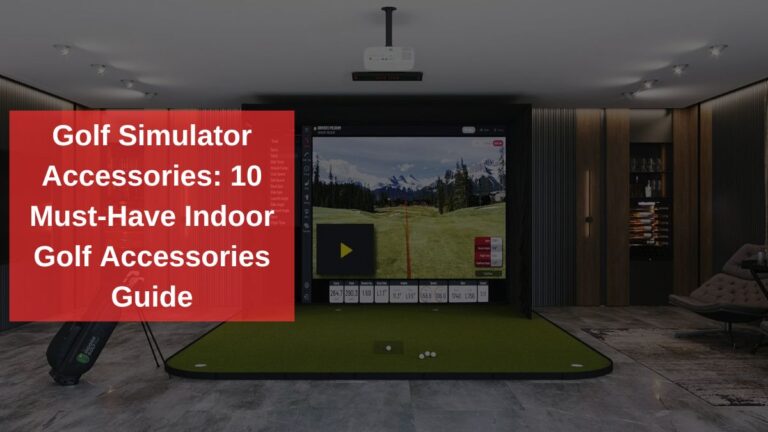
- 10 Must-Have Golf Simulator Accessories
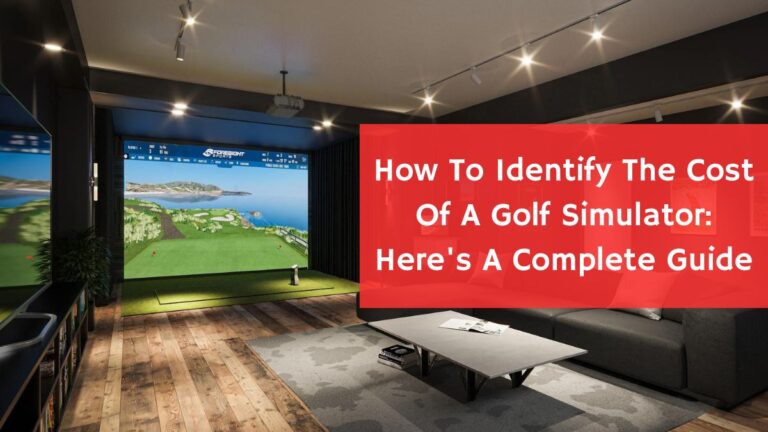
- How To Identify The Cost Of A Golf Simulator
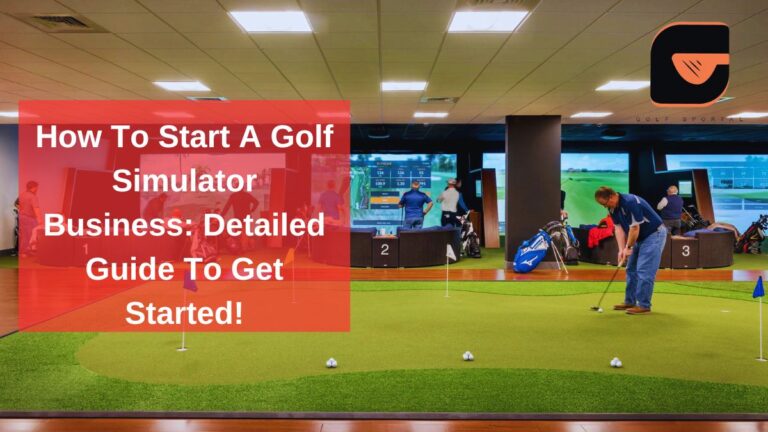
- How To Start A Golf Simulator Business
- How Realistic Is A Golf Simulator?
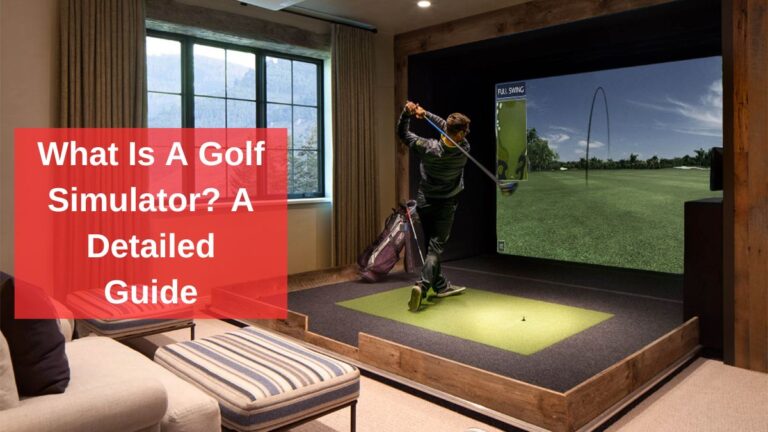
- What Is A Golf Simulator?
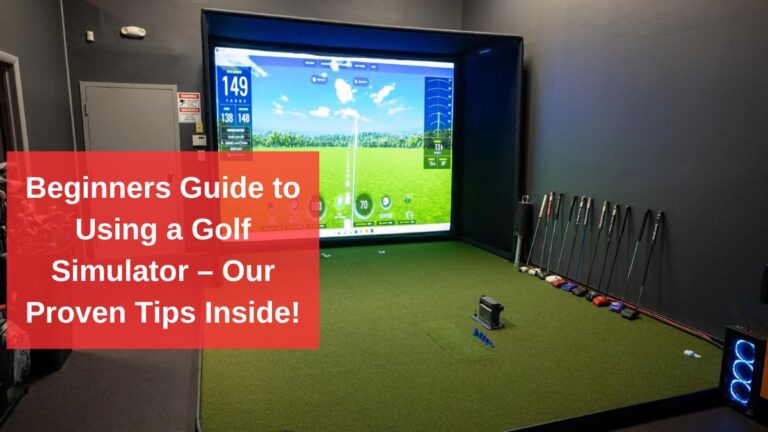
- Beginner’s Guide To Using A Golf Simulator
- Are There Special Balls For A Golf Simulator?

I’m Khawar Iqbal, Founder of Golfsportal. I’m excited to be your guide in the world of Golf. At Golfsportal, I will keep you updated with insightful information that will help you improve your golfing experience and knowledge about what’s currently happening in the industry.