How To Setup Best Golf Simulator Enclosure Size: Complete Guide
In this article, you will learn how to set up a golf simulator impact screen with a detailed guide on selecting the right golf simulator enclosure kit!
Are you looking to install an indoor golf simulator at your home? You need to complete certain requirements to enjoy the best simulating experience.
Since Dave Peltz invented golf simulators, they have evolved from a teaching aid to an immersive golfing experience. One of the main elements of every simulator is the golf simulator enclosure which works as a protective barrier for each shot and improves the playing area.
By installing a well-designed golf simulator enclosure kit, you can improve your swings without worrying about damaging your surrounding equipment.
In this article, I have explained how to set up the golf simulator enclosure size with a detailed guide.
How To Select The Right Size For Golf Simulator Enclosure Screen
While building a golf simulator setup at your home, selecting the equipment that works perfectly with the room size is important. It helps with a comfortable indoor golfing experience.
Below, I have provided details on how to select the right size for the golf simulator enclosure screen:
1 – Identifying Your Room Space
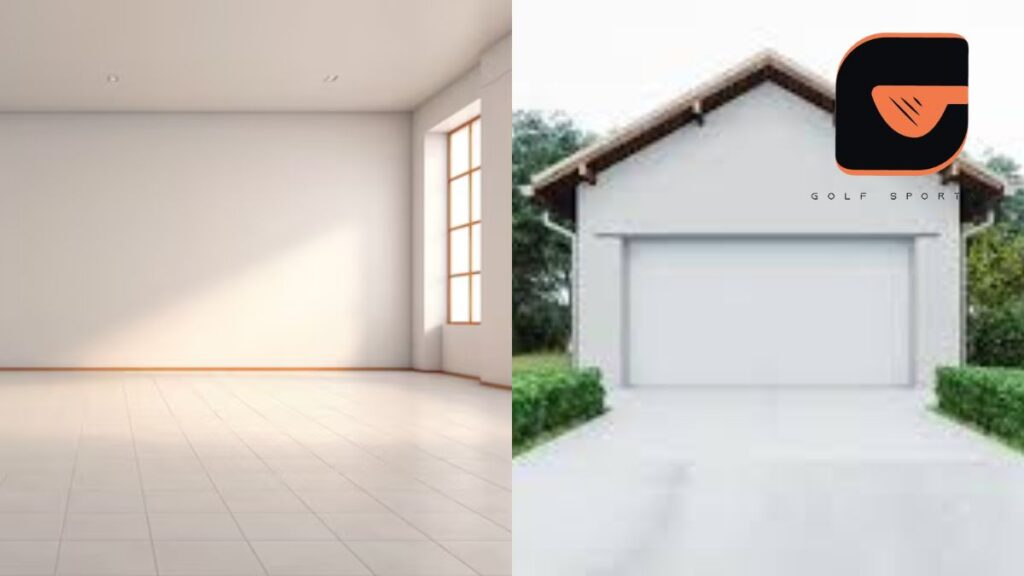
The first thing to identify is your room space. Before buying an impact screen for golf simulator, measure your room’s length, width, and height. Using a measuring tape will help you with precise and accurate measurements.
After that, note any obstacles and unnecessary features that are already placed in the room such as a hanging light, ceiling fans, furniture, and anything that might interfere with your indoor golf simulator.
After removing unnecessary items from your space, take out your golf clubs and swing freely in your room. This way you can analyze if you can swing freely or not.
Another thing that you should keep in mind is your safety, most golfers do not care about the distance between their swing point and impact screen.
Sometimes the ball can bounce back and may result in injury. Try to maintain a distance of at least 12-15 feet away from the golf simulator enclosure kit.
If the space is limited and you can’t maintain this distance, I would suggest you look somewhere else to install your setup.
2 – Dimensions Of Your Space
While installing indoor golf simulator enclosures, having a large space is ideal for playing properly without worrying about anything.
However, understanding the dimensions of your room can prevent you from buying anything large or too small that wouldn’t work well for your room space.
With that said, I have provided some recommended dimensions that you should keep in mind during the measurement process:
- If you’re a tall person who’s above 6ft, ensure that your ceiling height is at least 12 ft. This will help you swing freely. Otherwise, for an average person, the ceiling height of 9 ft will work perfectly.
- The width of your enclosure should be around 10 ft. This will help you get a clearer picture and space for hitting the golf ball without worrying about damaging the sides of your room.
- Proper depth measurement of depth will allow you to install tracking systems such as radars and sensors at ideal positions. This way you can measure and track the ball speed and other data more precisely. For this purpose, ensure the depth is at least 10 ft in your enclosure.
| Important Notice: A 5 ft deep enclosure isn’t suitable for anyone. It can greatly impact your swing angles with higher irons. |
3 – Selecting The Right Aspect Ratio
The aspect ratio is image size which is projected on the enclosure. By matching the right image size and the aspect ratio, you can prevent black masking balls. In general, golfers expect to play on a 16:9 aspect ratio on their golf simulators.
What they fail to understand is that most of the time the 16:9 ratio doesn’t fit well unless you have a large space for your indoor golf simulator setup. Here’s a quick walkthrough of different aspect ratios:
- 16:10 Aspect Ratio: The 16:10 aspect ratio is mostly used for computer and tablet displays. It’s a common selection between golf players
- 16:9 Aspect Ratio: If you’re looking for 4K or high-definition graphics, 16:9 would be an ideal choice. They work perfectly with flat TV screens.
- 4:3 Aspect Ratio: The 4:3 aspect ratio stands perfect for tall people, giving you more space to swing your golf club freely.
Why Are Golf Simulator Enclosures Important?
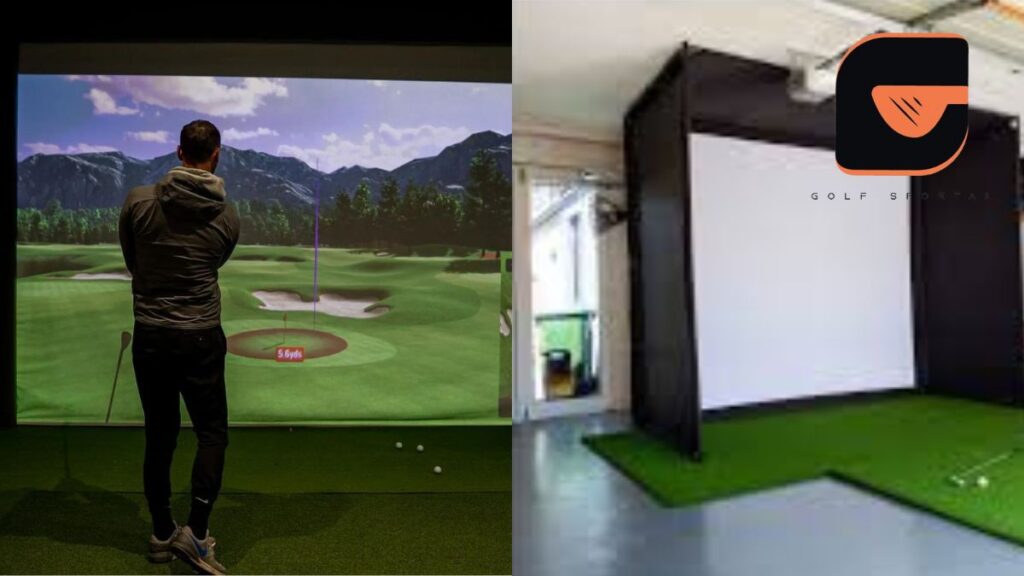
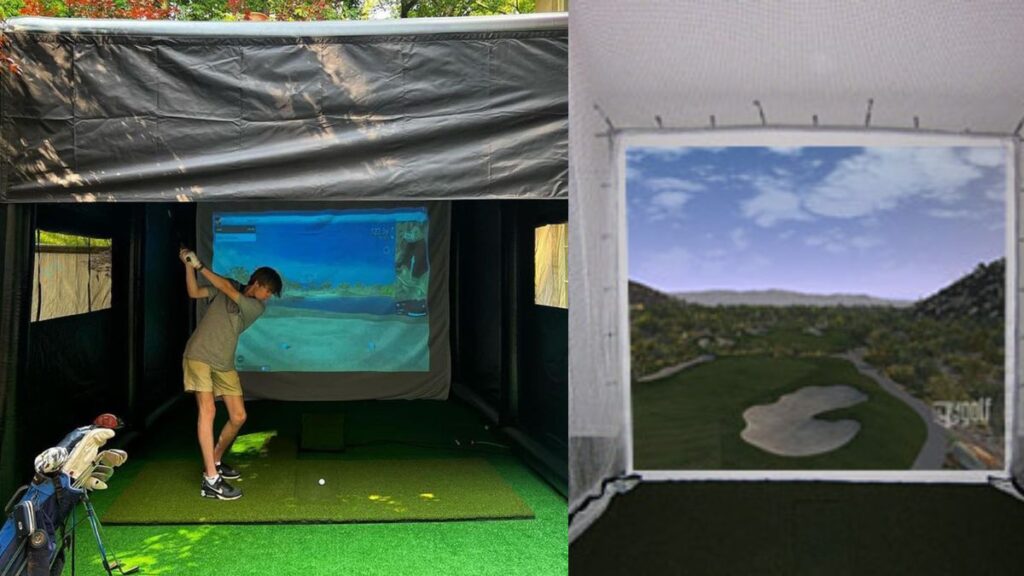
Being one of the most important components of any golf simulator setup, using a golf simulator enclosure creates a collaborative and efficient environment whether you’re improving your golfing skills or casually playing.
They provide a specific area with a well-designed structure for the proper functionality of your golf simulator’s accessories such as launch monitors, sensors, radars, etc.
With that said it becomes more efficient to track and display data. In addition, the tracking system of your golf simulator setup works perfectly without any interference from external factors that you may experience at a golf course.
However, with a proper golf simulator impact screen, you can ensure that the golf balls are hitting a specific area without damaging your property or causing any injury.
So, by helping you with key focus and improving your gaming skills, investing in a golf simulator enclosure is worth it.
You May Also Like Reading: How To Identify The Cost Of A Golf Simulator
How To Setup Golf Simulator Enclosure Screen: Explained
Setting up your DIY golf simulator enclosure kit requires certain steps to ensure the proper functionality of your simulator setup. Below, I have provided a step-by-step guide to help you set your impact screen effectively:
Step 01
- Before unboxing your equipment for the golf enclosure, clear the area where you plan to install the setup. Clean the floor and identify whether it’s leveled properly to provide stability to the enclosure.
Step 02
- After cleaning up the space, unpack all the equipment in your golf simulator enclosure. Check the package properly and see if you have all the necessary equipment for the installation. You may get frames, impact screens, side nets, walls, and mounting hardware in your package.
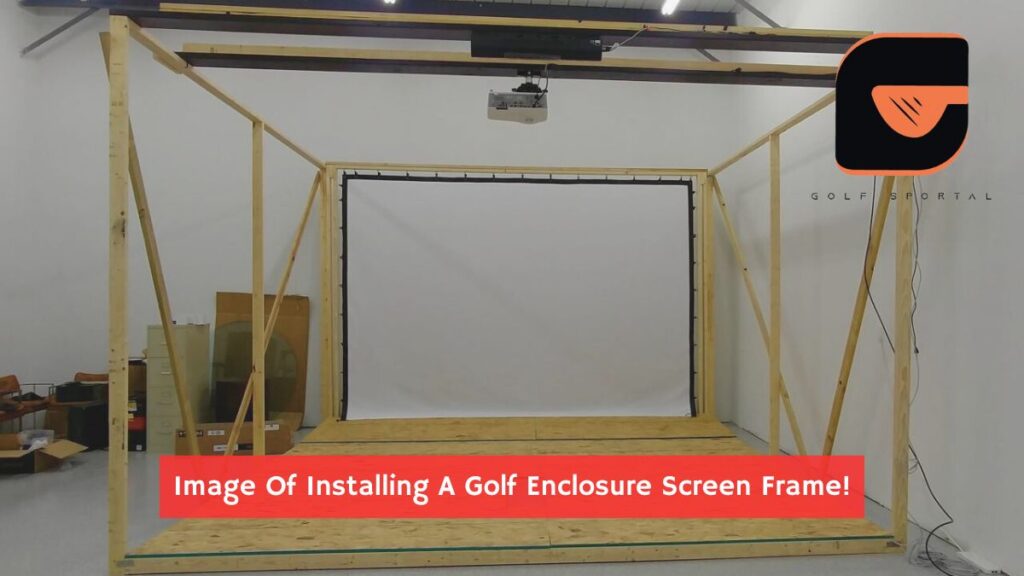
Step 03
- Start following the manual’s instructions and assemble your frame. Mostly you will get frames made of metal or PVC pipes. Place your frame where the floor is leveled. Screw the connections tightly to prevent instability or wobbling during your swings.
Step 04
- After you structure the frame, it’s time to install the impact screen. Make sure that the screen is tightly stretched and doesn’t have wrinkles on it. Otherwise, it will affect your visuals while playing. Attach the golf simulator impact screen with the frame using the provided clips and straps.
Step 05
- Install the nets and walls on your frame. It will help you contain the ball after the swing within the enclosure and protect your surroundings. While installing the nets, make sure you have covered every gap and corner so that the ball doesn’t escape from any side.
Step 06
- Position your project at a certain height where it projects the image on the impact screen perfectly. Read the manual’s instructions to set the projector at a certain distance. Adjust the angle and focus as per your preference.
Challenges During The Installation Of Golf Simulator Enclosure Screen
While installing golf simulator enclosures, there are certain challenges you may experience.
These challenges not only impact your enclosure but also disturb the overall golf simulator experience. Below, I have mentioned some of them along with the solution:
Less Space: the first common challenge that most golfers experience is limited space. Minimum space means you won’t be able to buy additional accessories. The best way to solve this problem is to take the right measurements and buy a compact-sized golf simulator enclosure. In addition, proper measurements of your room and enclosure size will also allow you to swing freely.
Uneven Floor: The second problem is the unstable floor. If a floor is unstable and has a low angle from one corner and a high from the other, it will be difficult for you to install a golf simulator enclosure. You can use adjustable feet to balance the frame.
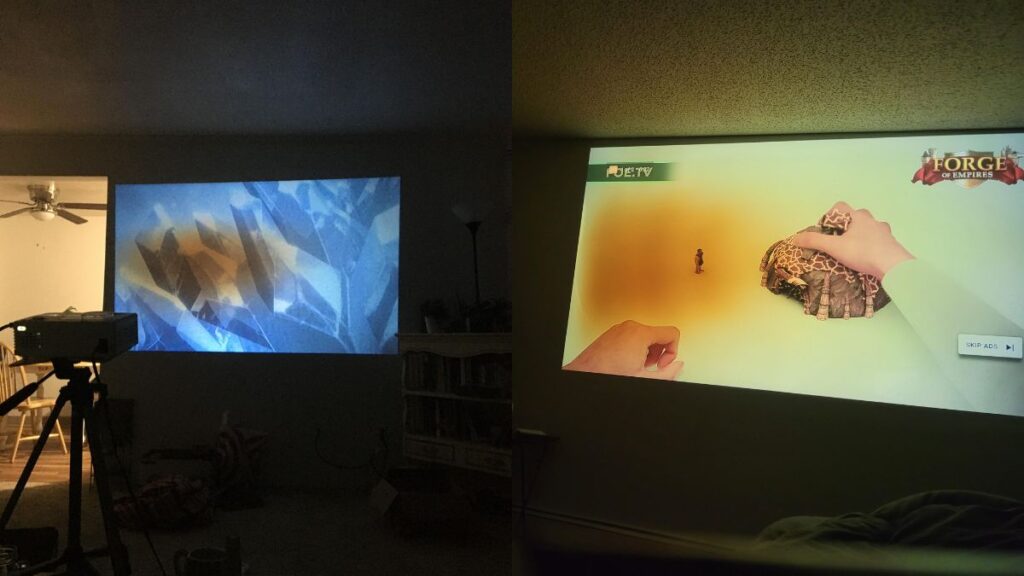
Poor Lighting: Poor lighting is another common challenge, but it’s solvable. If your room is too dark or has fewer lights, I would suggest installing LED lights around the enclosure. Avoid adding direct light to the screen as it will impact on the visuals.
Golf Simulator Enclosure: Materials, Construction, And Grade
While selecting a golf simulator enclosure, there are certain things you should look for. The quality of material, construction, and grade greatly impacts your usability.
It’s a matter of personal preference and the selection depends on how often you will use your indoor golf simulator.
There would be some budget-friendly options, while others come with a great price tag. To determine which type of selection you should make, read the below guide:
1 – Screen Material
In the manufacturing of golf simulator screens, there are a variety of materials used including nylon, polyester, and polyester-vinyl composite. Each of these materials has major differences when it comes to durability and longevity.
I would suggest you choose a polyester mesh if you want a strong and durable impact screen. They provide excellent image quality and bear shots no matter how hard you swing.
2 – Constructions
Golf simulator enclosure manufacturers apply coatings to enhance the characteristics of the screen. Commonly, there are three types of coatings that you can find:
UV-Resistant Coating: This type of coating prevents fading of the screen which is a common thing. This coating is mostly used in outdoor golf simulator enclosure and stands perfect for absorbing light exposure.
Anti-Static Coating: whether you are using an outdoor golf simulator enclosure or indoor, dust will come in your way. With anti-static coating, you make sure that your impact screen doesn’t accumulate any dust on the screen’s surface.
Gain & Reflectivity Coating: With the help of this coating, you can further improve the reflectivity of your golf simulator impact screen. It helps provide a brighter image and balance the contrast levels which enhances the golfing experience.
Which One Should You Choose?
Considering the manufacturing quality and coatings, write down your specific requirements and identify which one stands perfect for your indoor use. If you are investing in a good impact screen, make sure it has multiple layers and projects the image perfectly.
They usually come with thick layerings to prevent tearing and wrinkles on the screen. I would suggest you not overspend on the screens, consider a budget-friendly option, and make sure you’re getting high-quality and fully-coated impact screens.
3 – Material Grade
You can get different grades on your impact screen. Each of them is specifically designed for a different purpose. Although, their prices are also different. If you’re looking for an impact screen for home use, it will come at a different price. But, if we talk about commercial use, that would be a different story.
However, their price significantly reflects their build quality and durability. So, while selecting a golf simulator enclosure, make sure you have properly analyzed how often you will use the screen, what’s your budget, and which type of coating you need on your screen.
The most affordable option is made of basic polyester or something lighter. But the problem is they have fewer layers which ultimately means you may end up tearing it after some time.
On the other hand, high-grade impact screens are reliable, durable, and worth investing in. They are made of highly dense polyester that bears the impact of the ball no matter how hard you hit.
Their special coating enables them to reduce the sound of impact and provide premium projection quality which is something you won’t regret getting.
However, choosing any of them is a matter of personal preference!
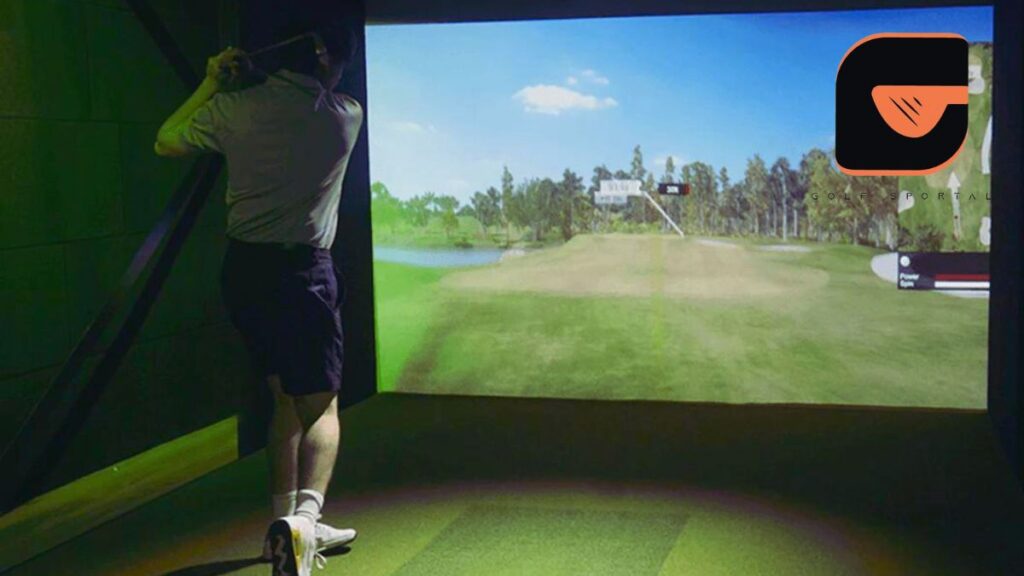
Why Should You Use A Golf Simulator Impact Screen?
A golf impact screen not only provides a reliable indoor golfing experience but also offers various other advantages.
For starters, the top and side barriers maximize your security and prevent the danger of bouncing back after you hit the golf ball. They provide an accurate structure and frame that fits perfectly with your space.
In addition, they improve the visibility during the ball flight. Like regular project screens, a high-quality golf impact screen is designed to handle the speed and impact of golf balls without disturbing the image clarity.
With that said, you can use your golf simulator enclosure as a home theater to watch your favorite movies.
Types Of Golf Simulator Enclosures You Can Choose
Golf simulator enclosure kits come in different variations which makes them perfect to be used for different purposes. Whether you’re looking for a permanent enclosure screen or something that you can move away, there’s a golf simulator enclosure screen for you.
Below, I have explained some common types of golf simulator enclosures you can get:
1 – Permanent Golf Simulator Enclosure
Permanent golf simulator enclosures are typically long-term solutions. They require a dedicated space for the installation such as the garage, a specific room, or a basement.
A permanent golf simulator enclosure offers several customization options that include premium lightning, soundproofing, or installing advanced technologies. They are made of durable materials and long-lasting, providing you with a stable environment to practice your golf skills.
However, installing a permanent golf simulator enclosure can take upto weeks for a proper setup. There are a variety of things involved in the installation such as preparations of the design, building the frames, and other golf simulator accessories.
With the help of a professional, you can speed up the process and install your setup within a week.
2 – Portable Golf Simulator Enclosure
As the name speaks for itself, portable golf simulator enclosures are a reliable option for those who want to move their setup from one place to another in the future. They are flexible and easy to use.
The best thing you will love about a portable golf simulator enclosure is that they are easy to assemble and disassemble. Secondly, they are less expensive compared to a permanent golf impact screen.
The only flaw about them is that they might not be as durable as a permanent golf simulator enclosure. However, you will need a proper space for installing a portable golf simulator enclosure.
To install a portable golf simulator enclosure, you may only need 5-7 hours that includes:
- Clearing and preparing the area
- Installing and framing the necessary components
- Positioning and adjusting the focus of projectors and launch monitors
3 – Commercial Golf Simulator Enclosure
Commercial golf simulators are designed for commercial use and stand perfect for golf simulator businesses, training centers, and sports shops.
They are made of premium quality materials and ensure a premium indoor golfing experience. However, a commercial golf simulator enclosure is typically expensive compared to others.
To install a commercial impact screen for a golf simulator, you may need a large space and a big budget. Plus, getting the assistance of professionals to ensure everything is installed as expected is another cost you will bear for the complete setup.
4 – DIY Enclosures
DIY golf simulator enclosures are for those who want to enjoy building their simulator setups from scratch. It provides complete customization and countless options that you can adjust according to your needs.
The good thing is you can save a tremendous amount of money while opting for a DIY enclosure screen. But unless you’re an expert in it who has technical knowledge and experience, I won’t recommend this option.
There are a variety of duties you have to do such as sourcing the right quality accessories such as frames, nets, etc. If not installed correctly, there would be a higher risk of getting things collapsed or damaged.
The estimated time to install a DIY golf simulator enclosure depends on your experience, the complexity of your chosen design, and how much time to spend on your setup.
How To Maintain Your Golf Simulator Enclosure Screen: Easy Steps
Let’s be real, golf simulator enclosures don’t come cheap whether you install them by yourself or hire a professional. Replacing them immediately due to lack of maintenance would be a pain in the head, right?
Properly maintaining your golf simulator enclosure screen will improve its longevity and keep your screen in top condition. Here’s a quick guide I have provided on how to maintain your impact screen for golf simulator:
1 – Cleaning It Regularly
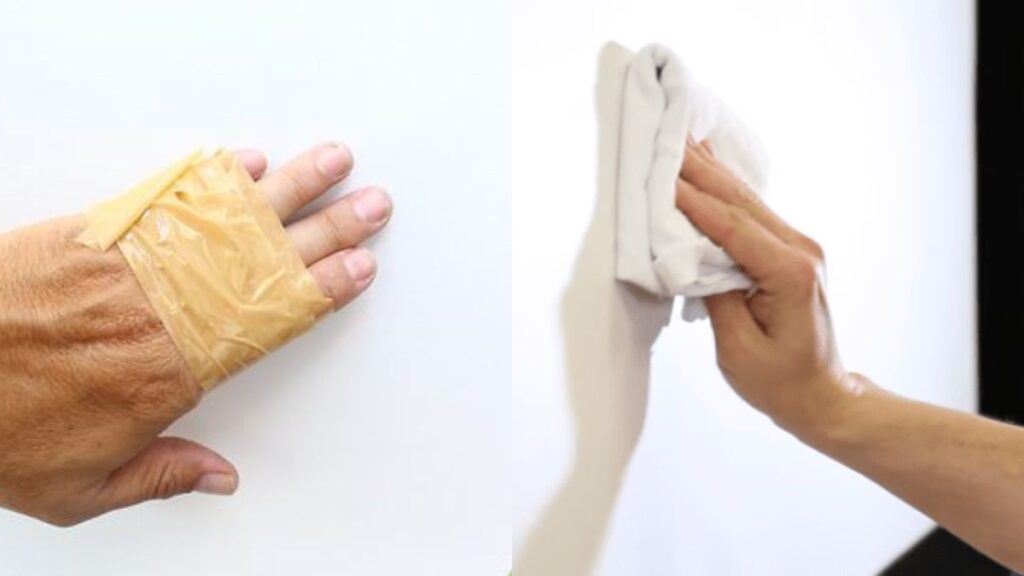
The first basic maintenance is to regularly clean your golf screen enclosure. Use a soft micro brush with a screen cleaner, fill your spray bottle with warm water, and follow the below steps:
- Dust the screen with the micro brush and remove the first layer of dirt and dust.
- Mix a small amount of mild detergent with warm water and spray it on the stain spots.
- Do this process gently and wipe the spot.
- Avoid using harsh chemicals as they can impact negatively on screens.
Regular cleaning will keep your screen in brand-new condition and ensure image clarity.
2 – Find The Damaging Spots
There’s a possibility that you make a swing hard and damage the impact screen which is not noticeable. Although, with time, this unnoticeable damage can expand and further tear up the screen.
It would be a wise move to regularly inspect your golf simulator enclosure and check for holes, and tears. Move your hand softly on the entire screen and see if the texture gets hard or unusual anywhere.
With that said, pay special attention to areas where the ball impacts mostly. These areas are more likely to be damaged or torn up. The best way to fix this issue is to mark the damaged area and use fabric adhesive or patches that are designed for screens.
3 – Protecting From External Factors
Are you living in Texas or Florida where the sun and heat always mess with you? Well, if that’s the case you should check for external factors as well like humidity, and temperature to maintain the screen visibility.
I would suggest you install your golf simulator setup in a safe environment where sunlight and extreme temperatures aren’t affecting the place. Install a dehumidifier to control the humidity levels
Moreover, avoid placing your golf impact screen near air conditioners or heaters. Sudden changes in the air and environment can also cause harm to your screen. If you have windows in the room, use curtains to block the sunlight
4 – Make Sure The Screen Is Tightly Stretched
A screen that is stretched properly delivers more image clarity compared to a loosened one. Regularly check your screen for wrinkles and frame adjustments. Use a bungee cord to adjust the tightness of your screen.
In addition, see if the frame is aligned properly and hasn’t dislocated from its place. A slight change in the environment or overtightening your screen can lead to screen damage which is something you will not like.
Conclusion
Installing golf simulator enclosure kits requires certain considerations such as a proper space, complete accessories, and a specific budget. Above, I have explained everything that you need to know about how to setup a golf simulator enclosure screen.
Don’t forget to maintain your screen properly, regularly check for damages, and if you’re feeling hesitant to do it by yourself, call a professional and let them install an impact screen for golf simulator.
You May Also Like Reading:
- How To Start A Golf Simulator Business
- How Realistic Is A Golf Simulator
- Golf Simulator Vs. Golf Launch Monitor
- Golf Simulator Hitting Mat Guide
- Golf Simulator Projector Setup
- What Is A Golf Simulator?
- Home Golf Simulator Room Design Ideas
- Are There Special Balls For A Golf Simulator?

I’m Khawar Iqbal, Founder of Golfsportal. I’m excited to be your guide in the world of Golf. At Golfsportal, I will keep you updated with insightful information that will help you improve your golfing experience and knowledge about what’s currently happening in the industry.