Beginners Guide to Using a Golf Simulator – Our Proven Tips Inside!
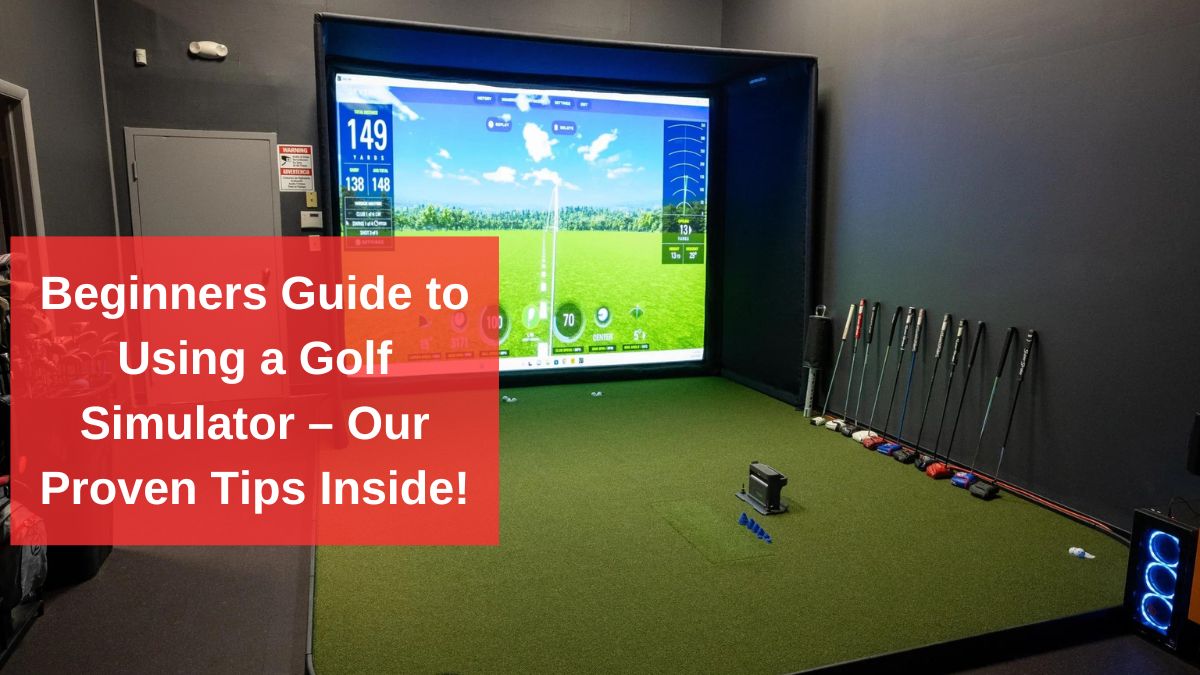
Welcome to the world of golf simulators! If you’re new to golf or just trying to sharpen your game at home, you’ve probably heard of golf simulators and how they can change the way you practice. In this guide, we’ll walk you through everything you need to know as a beginner using a golf simulator, and more importantly, how you can use it effectively to improve your skills.
We’re talking easy, step-by-step tips, real experience, and why we think certain tools are just better for beginners. Let’s tee off!
Understanding the Basics of a Golf Simulator
Think of a golf simulator as your personal indoor golf course. It’s a system that lets you play and practice golf in the comfort of your home. You swing a real golf club, hit a real (or foam) ball, and the simulator shows you exactly what would have happened if you were outside. It tracks everything—ball speed, trajectory, distance, and more.
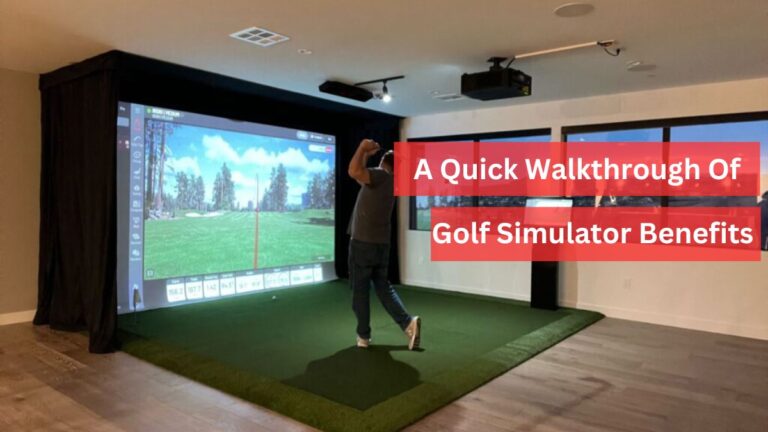
Why Should Beginners Use a Golf Simulator?
We get it—you’re busy. Between work, weather, or family commitments, getting to the golf course regularly can feel impossible. A golf simulator brings the course to you. Want to play a quick round before bed or practice your drive on a rainy day? No problem.
Our opinion: Simulators offer you consistent practice time, help you understand your game better, and give you instant feedback. As beginners, having this instant insight into our swing mechanics made all the difference in building confidence.
You May Also Like Reading: How Realistic Is A Golf Simulator?
Choosing the Right Golf Simulator for Beginners
Space Requirements
First things first—make sure you have enough space. Most simulators need about 10-12 feet of length and height, with some extra width depending on your swing style. Garages are ideal, but living rooms work too (just watch out for your TV!).
Our advice: Measure your space before you commit. We’ve seen too many people buy simulators that don’t fit properly. Remember, comfort is key—you need room to swing without feeling cramped.
Budget

Golf simulators can be pricey, so it’s important to know your budget. As we mentioned earlier, there are affordable options out there. We started with SkyTrak, but if you’re on a tighter budget, the OptiShot 2 or Garmin R10 are great starting points.
Software Compatibility
Choosing the right software is just as important as picking the right simulator. SkyTrak works seamlessly with The Golf Club 2019 and GSPro, both of which are great for beginners.
GSPro gave us a more realistic golfing experience with its high-quality graphics and course selection. It’s also affordable compared to other software, making it ideal for those on a budget.
You May Also Like: 10 Must-Have Golf Simulator Accessories
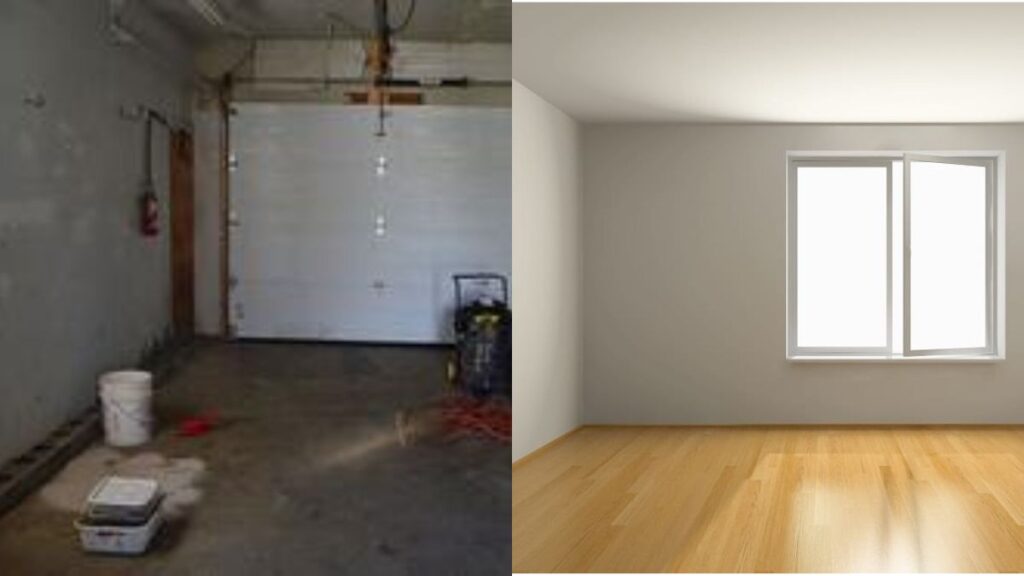
Setting Up Your Simulator Space
Selecting the Best Room or Space
Setting up your simulator in a garage is the most common option. Garages offer the most space, and they’re easier to modify (like adding nets and screens). But living rooms work too, especially with a retractable setup.
Ensuring Safety
Safety first! Make sure you have enough protection for your walls and ceiling. Using a net or screen is crucial for catching balls, and if you’re a beginner like we were, you’ll be thankful for it!
Our tip: Foam balls are a great option for those worried about hitting through the walls. They still give you feedback but reduce the risk of damage.
Step By Step Guide On Setting Up a Golf Sim (9 Easy Steps)
1. Room Preparation
A ceiling height of 9.5 to 12 feet is ideal. We had to offset the hitting position due to space limitations, but using software like GSPro aligned everything perfectly on the screen.
Why does this work? It gives you enough space for a full swing and avoids complicated screen adjustments.
2. Screen Installation
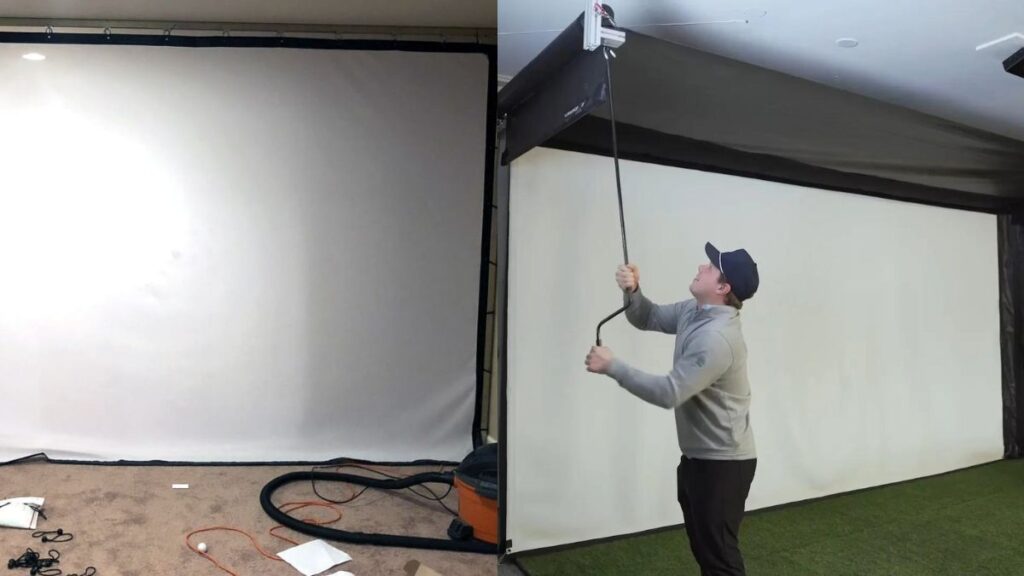
We used an HD impact screen for crystal-clear visuals with a Panasonic 6000 lumens projector. If you’re on a budget, an archery screen works well too but with slightly lower picture quality.
Why HD? It lets you enjoy lifelike visuals, especially when paired with premium launch monitors like Trackman.
Read this article to know more about setting golf enclosure size!
3. Projector Setup
We went with a 6000-lumens projector that worked great even in daylight. Lower-lumen options are available if you’re on a budget, but brightness is key for clear visuals.
Why does this matter? A good projector means you won’t need to black out the room for a sharp display.
4. Hitting Mat Placement
Place a T-turf hitting mat where you’ll swing. This mat provides feedback for bad shots (like fat shots) and protects your joints due to its cushioning.
Ensure the mat is large enough to cover your stance and swing area.
5. Putting Turf
We surrounded the hitting area with Eagle Putting Turf, perfect for putting practice with a 10-stamp speed. It also cushioned the floor, protecting both the balls and your space.
The bonus: Realistic putting practice and added safety for your balls.
6. Launch Monitor Setup
Choose a launch monitor like Trackman, SkyTrak, or GC Quad. Set it up according to the manufacturer’s guidelines, ensuring proper calibration.
Make sure the monitor is positioned so it can capture the ball’s flight and data accurately.
7. Computer and Software Installation
Use a PC with a 3060 graphics card or higher to run the golf simulator software smoothly. Install the required software, such as Trackman, GSPro, or TGC 2019.
Connect the projector and launch monitor to your PC, ensuring that all systems are integrated and communicating properly.
8. Monitor Setup
Our 55-inch touchscreen made adjusting settings fast and easy. Just drag, and drop, and you’re good to go.
Why this rocks: It keeps you focused on the game, not on dealing with tech.
9. Testing and Adjustments
After setup, test the system by hitting a few shots. Adjust the projector, screen, and monitor alignment as needed.
Fine-tune your settings for the launch monitor and software to match your swing and playing style.
Install leather or acoustic foam padding around the screen to absorb ball impacts and reduce noise.
Also Read: How To Identify The Golf Simulator Cost
Tips to Use a Golf Simulator Effectively
Now that you’re all set up, let’s dive into how to use your simulator effectively to improve your game.
Explore All Settings
Take the time to explore all the features of your simulator. Adjust the difficulty, simulate weather conditions, and play around with the course options. This will make your practice sessions more engaging and realistic.
Track Your Progress
Keep an eye on your metrics—club speed, ball flight, distance, and more. Set goals and track your progress over time. Seeing improvements in these numbers can be motivating and help you focus on specific areas of your game.
Set Clear Goals for Each Practice
When we started, we didn’t just hit balls randomly. We focused on specific things—like improving our driving distance or straightening out our slice. This kept our practice focused and effective.
Record Your Swing
If your simulator allows, record your swing. Watching it back can help you identify areas to improve, like posture or grip.
Practice Course Management
Don’t just drive the ball. Use the simulator to play full rounds of golf, practising decision-making and strategy. This helped us transition to the real course more smoothly.
You May Also Like Reading: How To Start A Golf Simulator Business
Our Suggestions
SkyTrak – The Perfect Starting Point
We’ve tried different simulators, and SkyTrak is our favourite for beginners. It’s reasonably priced, easy to set up, and provides accurate ball data like ball speed, distance, and launch angle. You hit the ball, and SkyTrak tells you where it would have gone in the real world. Simple, right?
Why do we love it? As beginners, getting that real-time feedback was huge for us. Knowing how fast we hit the ball or how far it travelled made practising way more efficient. Plus, the interface is user-friendly. You don’t need to be a tech wizard to get started.
ProTee VX Ceiling Launch Monitor – For the Data Nerds
Now, if you’re someone who craves data (and we mean all the data), the ProTee VX might be your go-to. It tracks not only ball flight but also the club’s position, angle, and path. It’s slightly more advanced, but if you’re serious about breaking down your swing, this is a great option.
We found that for beginners, knowing your clubface angle and swing path was eye-opening. It allowed us to see why we were slicing or hooking the ball and how to fix it.
Budget-Friendly Options – OptiShot 2 and Garmin R10
Not looking to break the bank? We get it. The OptiShot 2 and Garmin R10 are both solid budget options. The OptiShot 2 is less precise but still gives a good idea of how you’re striking the ball. The Garmin R10 is portable and offers basic swing metrics, making it ideal if you’re just looking to improve your contact and consistency.
Our thoughts: If you’re just getting started and don’t want to invest too much, these simulators still provide value. They might not have all the bells and whistles, but they’ll get you swinging more often, and that’s what matters.
Common Beginner Mistakes to Avoid
Relying Solely on the Simulator
While a simulator is a fantastic tool, don’t rely on it completely. You still need to get out on a real course to practice your short game and putting.
Ignoring Club Data
As beginners, it’s easy to focus solely on ball flight. But club data, like clubhead speed and angle, can tell you a lot about your swing and how to improve it.
Over-practicing Without Rest
Golf can be addictive, especially when you have a simulator at home. However, over-practicing can lead to fatigue and injury. Make sure you’re giving yourself time to rest.
Using a golf simulator isn’t just about swinging in your living room; it’s about consistently improving your game, understanding your swing, and having fun while doing it. We hope this guide helps you on your journey to becoming a better golfer
These Topics Might Also Interest You:
- Golf Simulator Vs. Golf Launch Monitor
- Golf Simulator Hitting Mat Guide
- Golf Simulator Projector Setup
- What Is A Golf Simulator?
- Home Golf Simulator Room Design Ideas
- Are There Special Balls For A Golf Simulator?
I’m Khawar Iqbal, Founder of Golfsportal. I’m excited to be your guide in the world of Golf. At Golfsportal, I will keep you updated with insightful information that will help you improve your golfing experience and knowledge about what’s currently happening in the industry.