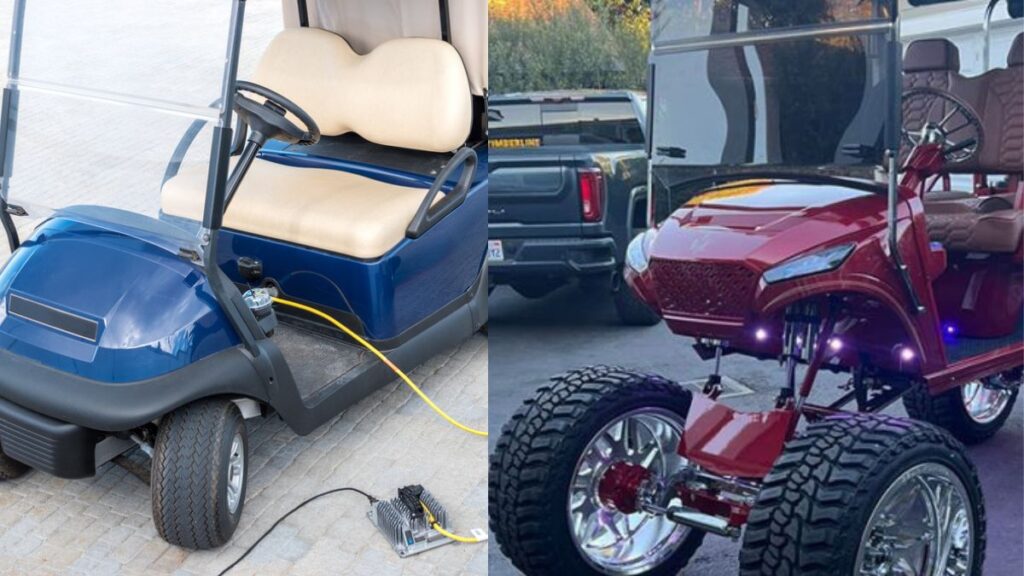
How to Test a Golf Cart Battery Charger? A Simple Guide!
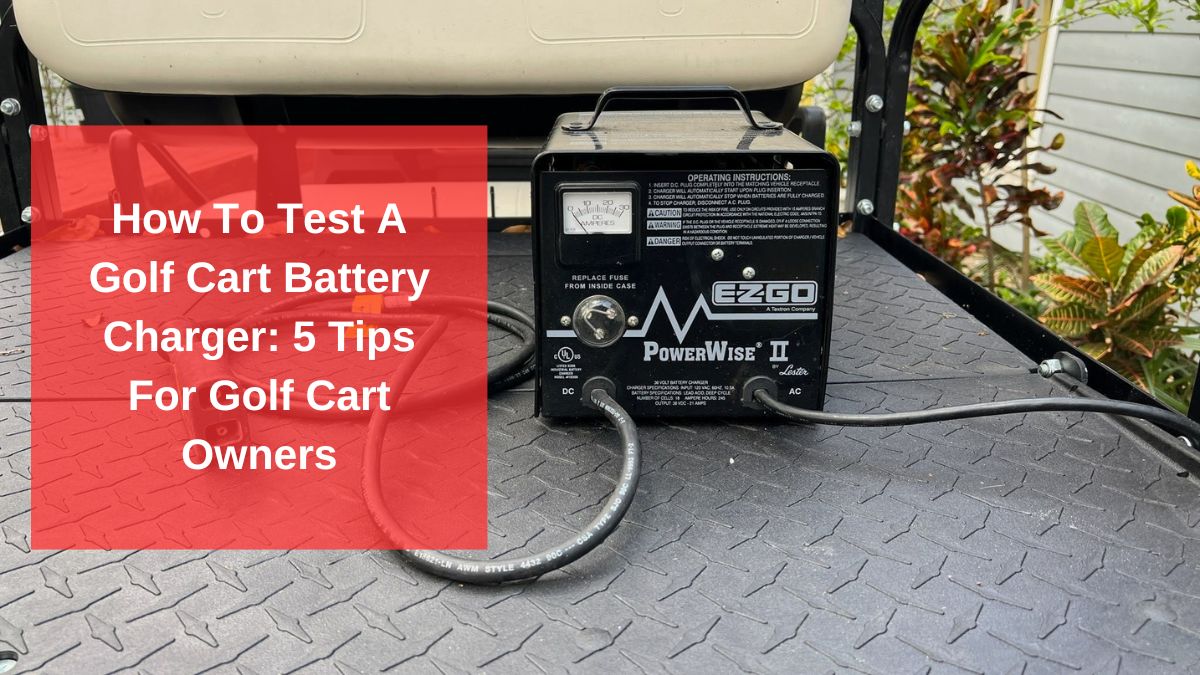
Testing a golf cart battery charger may sound like a complicated task, but trust us, it’s easier than you think. Whether your cart is crawling slower than a tortoise or refusing to charge up at all, knowing how to test your charger can save you from unnecessary headaches and costs.
We’ve tested our fair share of battery chargers and can walk you through how we do it, step by step. So grab a multimeter, and let’s get started.
Why Golf Cart Battery Chargers Are Essential?
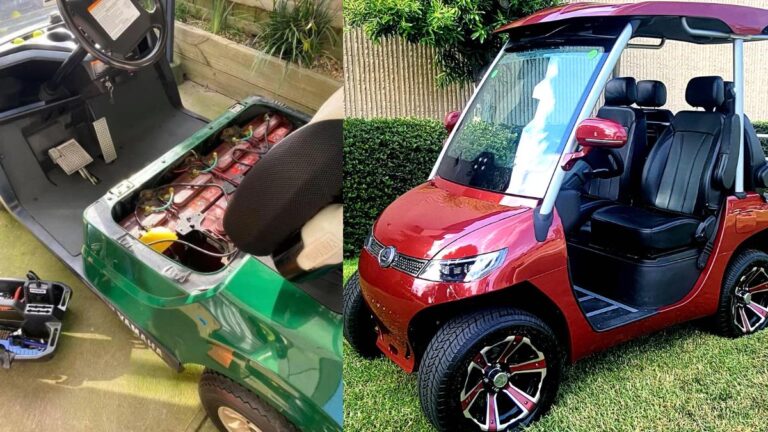
Electric golf carts come with a hefty price nowadays, and proper maintenance is required to ensure everything works fine. As a golf cart owner, I would never want something to happen to my golf cart. Chargers are the most important element of electric vehicles whether it’s a golf cart or any other vehicle.
After some time of owning a golf cart, it’s quite natural to experience issues with your golf cart battery or disturbance while driving. With that said, it only leads us to two things, either:
- The batteries are going down or reached their limit
- There’s something wrong with the charger
In both cases, it’s wise to check and make sure you fix the issue. You can read more about how to test golf cart batteries. For the charger, continue reading this article!
Why Should You Test Your Golf Cart Battery Charger?
First off, why should you even bother testing your charger? The simple answer is to keep your golf cart running smoothly. A faulty charger means your batteries aren’t getting the juice they need, which eventually results in poor performance and a shorter battery life. You’ll want to identify charger issues early before they lead to costly battery replacements.
In our experience, one of the first signs of trouble is when the cart feels sluggish, even after a full charge. Another telltale sign is the charger overheating. If you’ve ever touched your charger and it felt like a frying pan, then it’s time to give it a test. Chargers aren’t supposed to cook your breakfast—they’re supposed to keep your batteries charged!
Tools You’ll Need
Before you dive into testing, here’s what you’ll need:
- Multimeter: We use this tool to measure voltage and make sure things are working correctly. A Fluke multimeter is one we’ve had great success with, and it’s simple enough for beginners to use.
- Basic Hand Tools: Just in case you need to open the charger or check battery connections.
- A Battery Voltage Chart: This helps you determine if the battery pack is holding the right charge.
Trust us, these tools are essential. Without them, it’s like trying to play golf without a putter—you might manage, but it won’t be pretty.
Understanding The Basics Of Your Golf Cart Battery Charger
Let’s start with the basics: golf cart chargers come in different types, mainly 36V, 48V, and 72V, depending on your cart’s battery setup. Different models are designed for different carts, like Club Car or E-Z-GO. The good news is most chargers follow the same principles, so testing them is fairly similar across the board.
Chargers generally have safety features such as automatic shut-off when the battery is full. Some come with trickle charge modes to keep the battery topped off without overcharging. If these features aren’t working, it’s time to troubleshoot.
Step-by-Step Guide to Testing a Golf Cart Battery Charger
Now, let’s get into the meat of it—how to test your charger. Don’t worry, we’ve broken it down into easy-to-follow steps.
1 – Start With The Visual Check
Before whipping out the multimeter, we always recommend starting with a basic visual inspection. You want to make sure there’s no visible damage to the charger or cables. Look for things like frayed wires, corrosion on the plugs, or even burn marks. If it looks like something chewed on the cables, don’t plug it in until it’s fixed!
A visual inspection can sometimes reveal simple problems. We’ve seen cases where the issue was nothing more than a loose wire. Tighten everything up, and you might save yourself a lot of hassle.
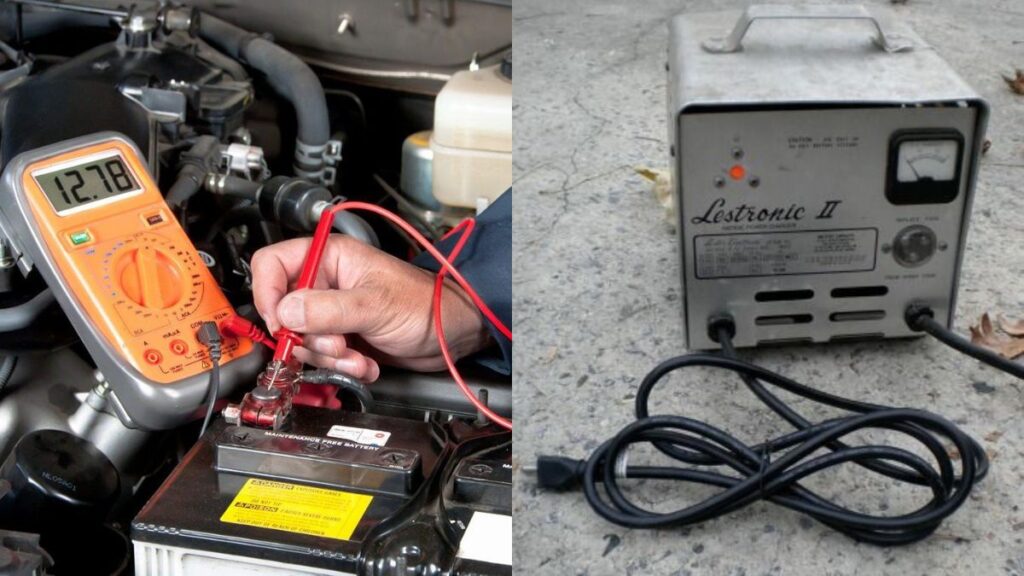
2 – Check the Battery Pack Voltage (Without Charger)
Next, you need to know where your battery pack stands. Use your multimeter to measure the voltage of the entire battery pack. For instance, if you have a 36V system, the pack should read around 38.2V when fully charged. A 48V system will typically show around 50V.
How do we do it? Set your multimeter to DC voltage and place the leads on the positive and negative terminals of the battery pack. This gives you a baseline reading. If the voltage is lower than expected, it could mean your batteries need a boost before the charger kicks in.
We’ve often seen this in carts that have been left sitting for a while. The voltage drops so low that the charger doesn’t even recognize the battery pack. Don’t worry; we’ll get to how to fix that.
3 – Test the Charger’s Engagement
Now it’s time to see if your charger is even coming to life. Plug the charger into your cart and listen carefully. Most chargers have an internal relay that clicks when the charger engages. If you don’t hear that click within a few seconds, something’s wrong.
Our tip: If there’s no click, try using a 12V car charger to give each battery a short charge. This can sometimes “wake up” the pack, allowing your golf cart charger to engage properly. We’ve done this with stubborn batteries, and it works like a charm.
You May Also Like Reading: How Fast Do Golf Carts Go?
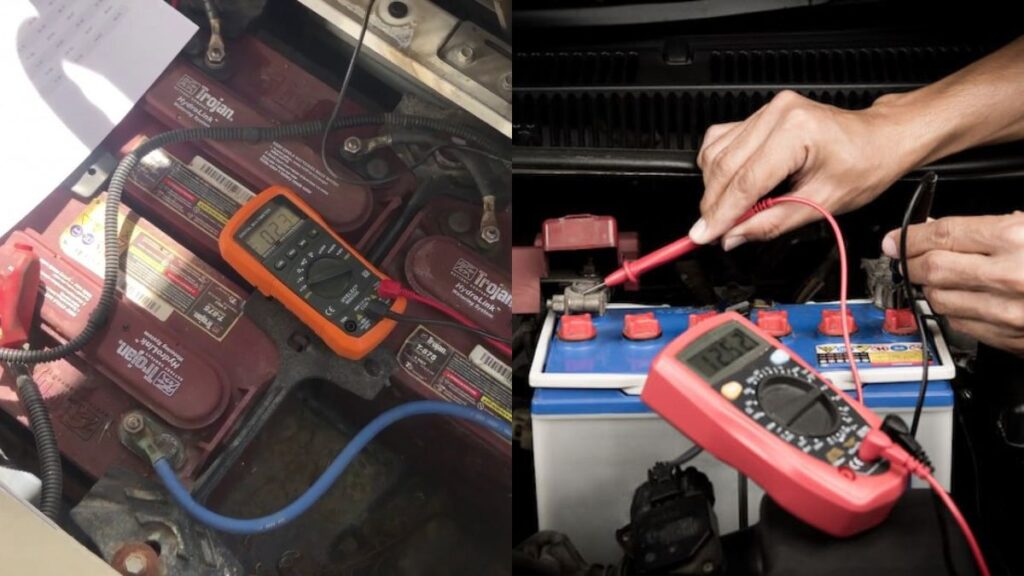
4 – Measure the Charging Voltage
If your charger clicks on, great! Now let’s see if it’s charging. With the charger plugged in and running, use your multimeter to measure the voltage of the battery pack again. You should see the voltage start to rise as the charger pumps energy into the batteries.
For example, in a 36V system, the voltage might climb up to 46V during charging. If the voltage isn’t increasing, your charger might not be working as it should. Time to dig a little deeper.
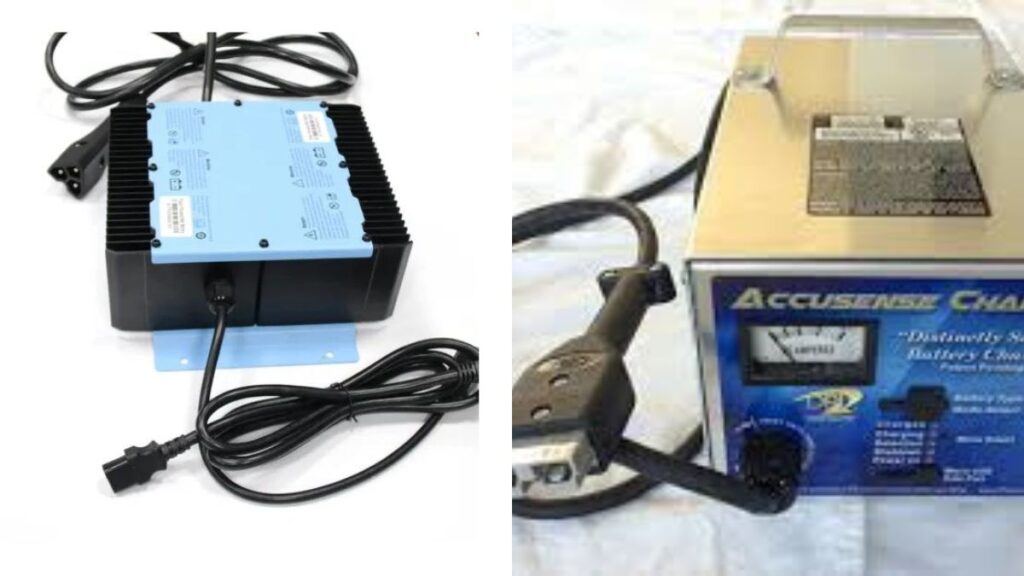
5 -Test the Charger Output
For those who want to get technical, you can also test the charger’s output directly at the plug. Set your multimeter to DC voltage and place the leads on the charger’s output terminals. You should see a voltage reading that matches or slightly exceeds your battery pack’s nominal voltage (e.g., 36V or 48V).
If the reading is significantly off, the charger’s internal components may need repair or replacement.
6. Bench Testing with A DC Load
If you want to get a bit more advanced, bench testing is another method. This is especially useful if you’re working with multiple chargers (e.g., 24V, 36V, and 48V systems).
What do we do? We simulate a battery pack by using an electronic DC load. This allows us to run the charger through a full charging cycle without connecting it to actual batteries. It’s a neat trick if you’re testing chargers in a workshop setting.
Troubleshooting Common Charger Issues
What happens when things don’t go as planned? Here are some common problems we’ve encountered while testing golf cart chargers—and how we fixed them.
Charger Won’t Turn On
This is a classic. You plug in the charger, and… nothing. No click, no hum, no lights. In many cases, the charger doesn’t turn on because the battery pack voltage is too low. As mentioned earlier, we like to give each battery a brief charge using a car charger to get things going.
After charging each battery individually, reconnect them and try the charger again. This simple trick has brought many “dead” chargers back to life.
Charger Gets Too Hot
We once had a charger that got hotter than a summer day in Phoenix after just a few hours of use. While a little warmth is normal, excessive heat isn’t. This often happens when the batteries are extremely low on charge. The charger has to work overtime, generating more heat.
We recommend charging the batteries individually with a 12V charger for longer periods. This allows the golf cart charger to handle the rest without overheating. If the problem persists, your charger might have internal issues that need addressing.
Charger Never Shuts Off
A charger that never stops charging can overcook your batteries. If you’ve ever left your charger on overnight and come back to find it still running, there’s likely an issue.
Sometimes the auto shut-off fails due to bad wiring or a faulty internal relay. You may need to replace components inside the charger or invest in a new one.
Pro Tips for Charger and Battery Maintenance
Let’s face it: the best way to avoid charger issues is to take care of your batteries. We’ve learned that with proper maintenance, both your batteries and your charger will last a lot longer. Here are a few pro tips we swear by:
- Water Levels: If you’re using flooded lead-acid batteries, always keep the water levels in check. Low water levels cause the batteries to overheat, which then makes your charger work harder. We recommend the Trojan Hydrolink Battery Watering System—it makes the job quicker and easier.
- Clean Connections: Corrosion is the enemy of electrical systems. Every few months, we clean all the battery terminals and charger connections to ensure there’s no resistance. A wire brush and some baking soda will do the trick.
Don’t Overcharge: As tempting as it is to leave the charger on all the time, it’s best to unplug it once the batteries are full. Overcharging leads to heat buildup and shortens battery life.
You May Also Like Reading: How To Transport A Golf Cart
How Long Do Golf Cart Batteries Last: Explained
For some people, golf carts are used as a daily-driven vehicle, which makes it even more important to ensure that your charger and batteries work perfectly. Although, the life of a golf cart battery depends on several factors such as manufacturer, how often you charge it, which type of battery you have, etc.
But in general, a golf cart battery can last between 5 to 8 years. Although, your charging habits matter a lot at this point. For instance, if you’re one of those guys who likes to keep the charger on for the whole night may impact the battery and charger performance.
If you want to know more about how long do golf cart batteries last, read this article!
Recommended Products That We Use
If you’re in the market for some reliable gear, here are a few products we’ve used and loved:
- Fluke 115 Multimeter: Simple, reliable, and accurate. We use this for everything from checking battery charges to troubleshooting electrical systems.
- NOCO Genius Smart Chargers: These chargers are versatile and can handle a range of voltages (36V, 48V), making them perfect for golf carts.
- Trojan Hydrolink Battery Watering System: A lifesaver for maintaining your battery water levels.
You May Also Like Reading:
- Are Golf Carts Street Legal?
- How Much Does A Golf Cart Weigh?
- Do Golf Carts Have Titles?
- How Many Wheels Does A Golf Cart Have?
- How To Buy A Golf Cart: Buyer’s Guide
- Icon Golf Cart Review
- 6 Most Common Icon Golf Cart Problems
- Hunting Golf Carts: Complete Guide

I’m Khawar Iqbal, Founder of Golfsportal. I’m excited to be your guide in the world of Golf. At Golfsportal, I will keep you updated with insightful information that will help you improve your golfing experience and knowledge about what’s currently happening in the industry.